"Mushrooms are miniature pharmaceutical factories, and of the thousands of mushroom species in nature, our ancestors and modern scientists have identified several dozen that have a unique combination of talents that improve our health."
Paul Stamets
FREE MICRODOSING class with newsletter sign up. Click here!
- Home
- mushroom growing
Mushroom Growing for Beginners
Start Small and Succeed Early
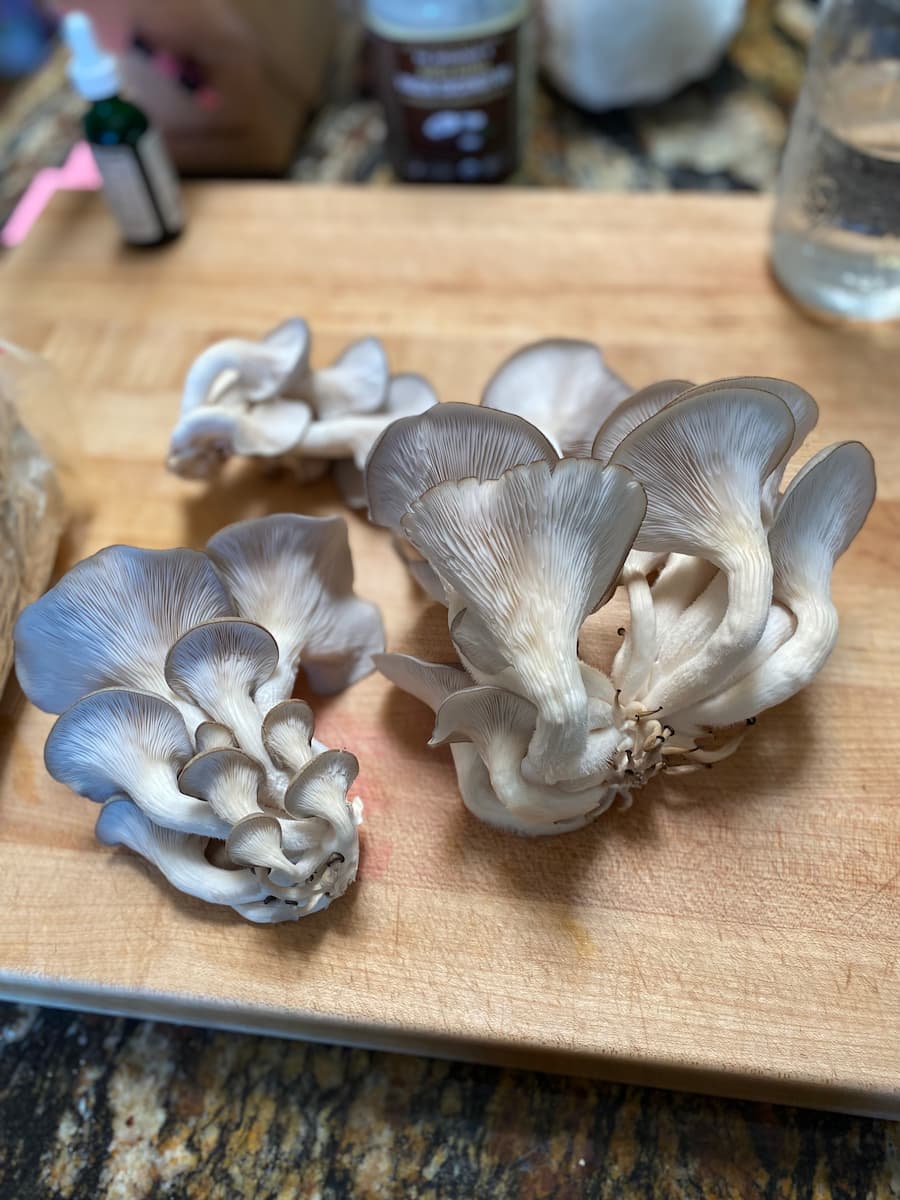 Home grown oyster mushrooms from homemade kits
The best way to grow gourmet mushrooms at home is to start with the easiest path to one successful harvest.
For growing psilocybin mushrooms at home, scroll down to the bottom of this page.
You do not need to master every technique, buy expensive equipment, or understand the full science before you begin.
Pick the simplest route, follow a few key steps, and get your first flush of mushrooms.
That single early win teaches you more than weeks of research ever will.
Once you have it, you can decide how deep you want to go.
Your first mushroom success should feel simple, not impressive
Most beginners overcomplicate mushroom growing before they ever start.
I know because I watched it happen over and over when I was running my gourmet oyster mushroom kit business.
People would spend weeks reading about agar transfers, laminar flow hoods, and advanced grain spawn techniques before they had ever grown a single mushroom.
Then they would feel overwhelmed and never begin at all.
Here is what I learned from that experience:
The people who actually succeeded were the ones who gave themselves permission to start small.
Their first grow was not impressive by expert standards.
It was a simple kit on a kitchen counter.
But it worked!
They harvested real mushrooms, and that changed everything.
Suddenly the hobby felt real instead of theoretical.
Your first grow does not need to be perfect.
It does not need to produce a massive yield.
It just needs to work well enough that you see mushrooms appear where there were none before.
That is the foundation everything else builds on.

Start with the easiest path to an early win
Not every mushroom growing method is equally good for a first attempt.
Some methods are genuinely easier, more forgiving, and more likely to give you a successful harvest without specialized skills or equipment.
Others are powerful but better saved for later.
Here is the honest breakdown.
**Best for your first grow**
A pre-made mushroom grow kit.
Specifically an oyster mushroom kit.
Oyster mushrooms are:
- aggressive colonizers
- tolerant of imperfect conditions
- fast to fruit
A good kit arrives with the hard work already done.
The substrate is colonized, the spawn is healthy, and your job is mostly to provide moisture and fresh air.
This is no short cut!
It is a first step that lets you see the full cycle from pinning to harvest without getting tripped up by:
- contamination
- substrate preparation, or
- spawn sourcing on your very first attempt.
**Good for your second or third grow**
Spawn to bulk methods using pasteurized straw or supplemented sawdust.
This is where you start learning real technique and where the hobby gets deeply satisfying.
But it introduces more variables, and those variables are easier to manage once you have already seen what healthy mushroom growth looks like.
Free 4-Part Microdosing Mushrooms Class
**Save for later**
- Agar work
- grain-to-grain transfers
- sterilized substrates
- working from spore syringes (for gourmet species, not psilocybin)
These are valuable skills, but they are not where early momentum comes from.
If you want to grow mushrooms at home and actually follow through, the single best thing you can do is resist the urge to start at the advanced level.
Start where success is almost guaranteed, then build from there.
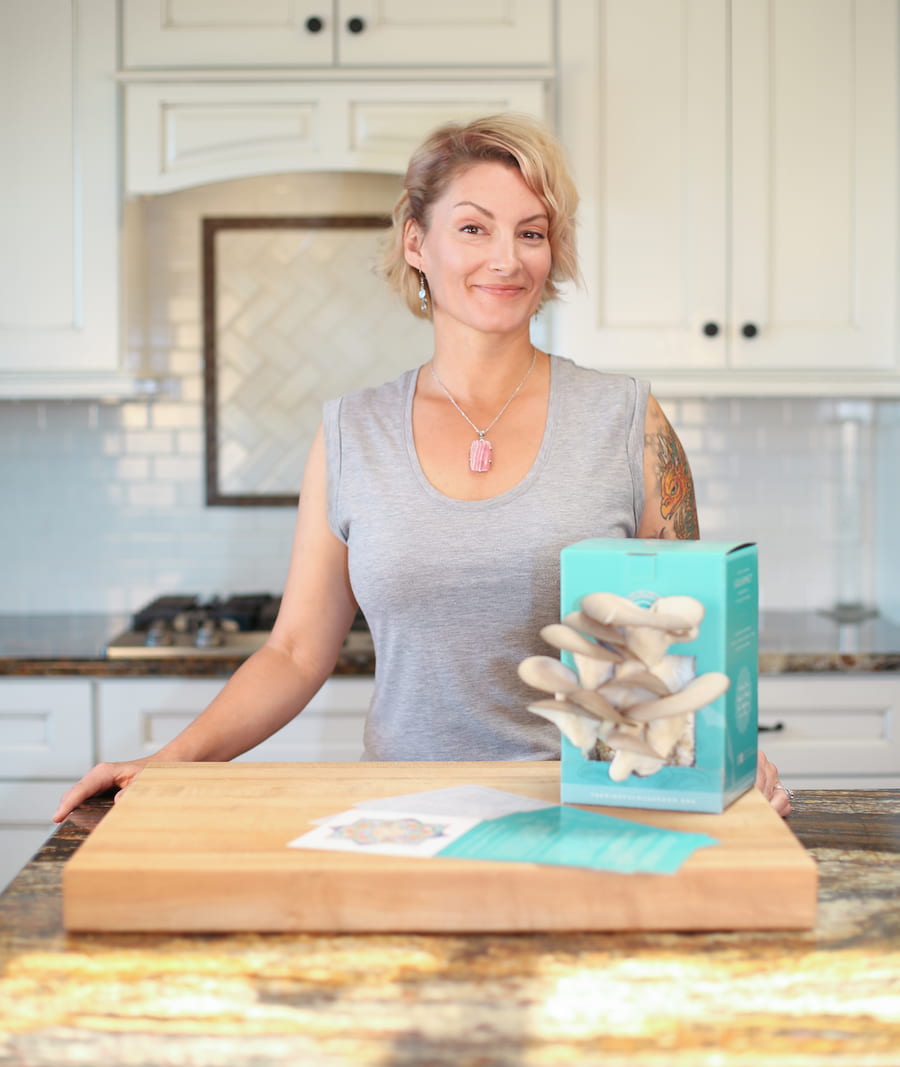 homegrown gourmet mushrooms have the best flavor, texture and nutritional potency
Choose your first home growing route without overthinking it
Growing gourmet mushrooms at home is easier than you might think, and the simplest way to get started is with a ready-to-fruit mushroom grow kit.
These kits come pre-inoculated with mycelium — the living root network of the mushroom — so all you need to do is open the bag, mist it with water a couple of times a day, and place it in a spot with indirect light and good air circulation.
Within just one to two weeks, you can be harvesting your first flush of delicious oyster or lion's mane mushrooms right from your kitchen counter.
No special equipment, no sterilization, and no prior experience required.
Once you see how satisfying (and tasty) that first harvest is, you'll be inspired to explore more advanced techniques like growing from grain spawn or building your own fruiting chamber — but starting with a kit gives you the confidence and hands-on understanding of how mushrooms grow before diving deeper into the hobby.
Click here to learn more about growing mushrooms at home.

Set up your first grow so it is hard to mess up
Whether you go with a kit or a bucket grow, a few simple setup decisions make the difference between a smooth first experience and an unnecessarily frustrating one.
Location matters more than equipment.
Find a spot in your home with indirect light, relatively stable temperatures between 60 and 75 degrees Fahrenheit, and some natural air circulation.
A kitchen counter, a shelf in a spare room, or a shaded spot in a garage all work fine for the kits.
Avoid direct sunlight, heating vents, and anywhere with heavy dust or foot traffic.
Humidity is the one thing to pay attention to.
Fruiting chamber humidity control is the single most common place beginners run into trouble.
Mushrooms need high humidity to form and develop properly, usually above 80 percent during fruiting.
For a kit, this often means misting the surface two to three times a day and keeping it in a sideways plastic bin or cooler (as shown above).
For a bucket grow, you can build a simple fruiting chamber from a large plastic tote with holes drilled in the sides, or you can invest in a simple fruiting chamber.
A hand mister and a hygrometer from any garden store are all you need to start.
Do not invest in ultrasonic humidifiers or automated systems yet.
A spray bottle and consistent attention are good enough for your first grow.
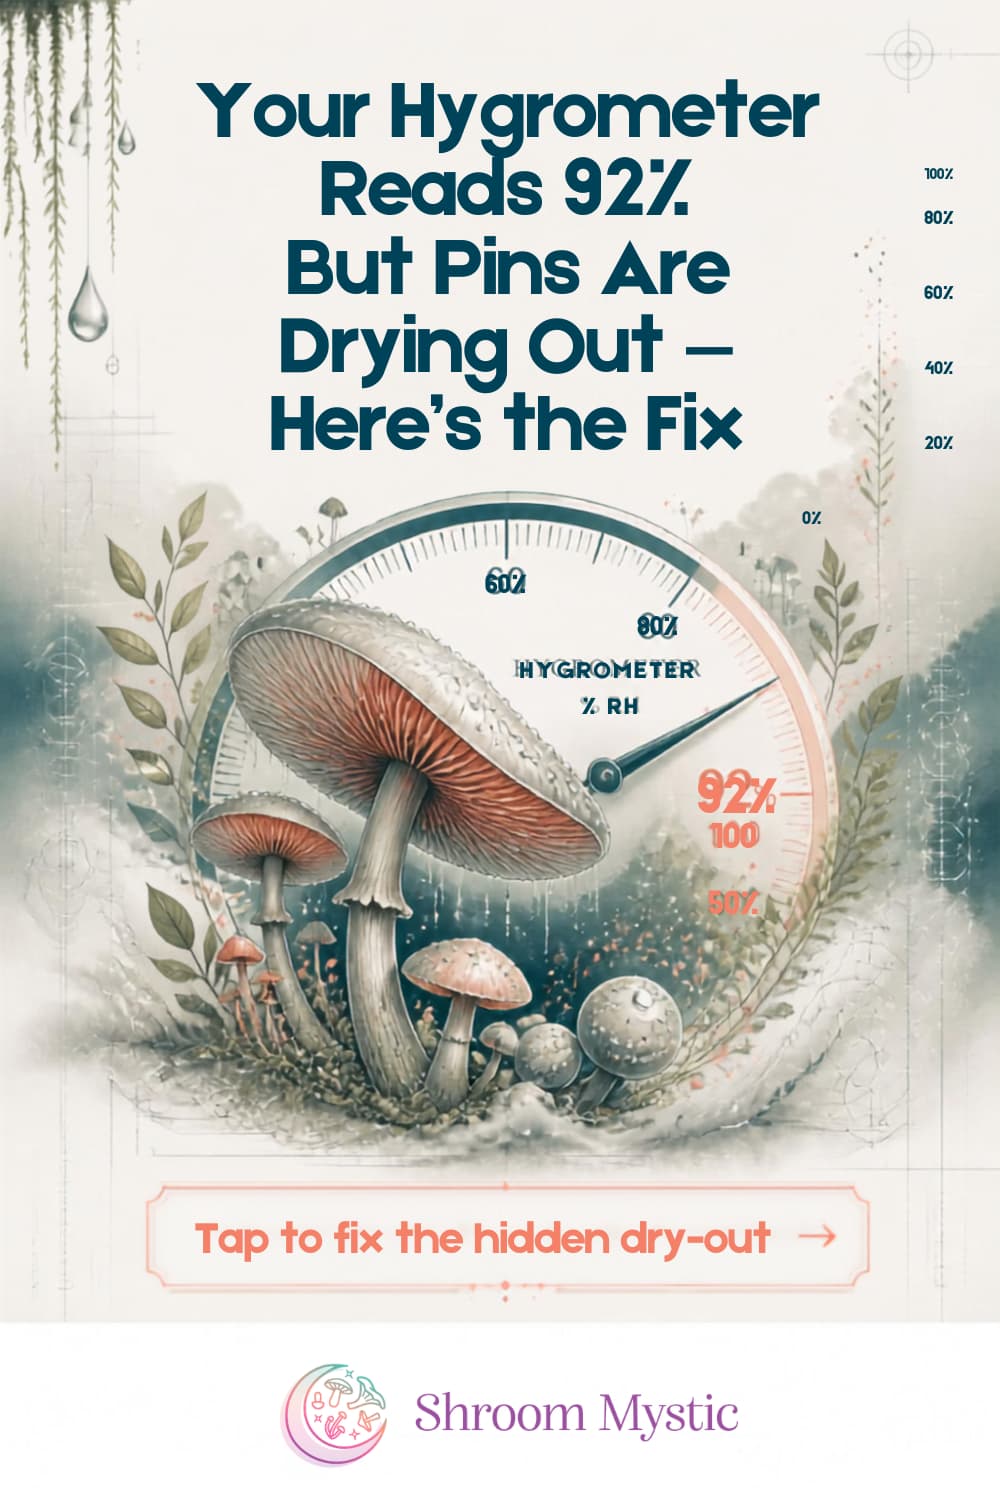
Click here to learn more about fruiting chamber humidity control
Cleanliness matters, but sterility is not required yet.
Wash your hands before handling your kit or substrate.
Work in a clean area. Wipe down surfaces.
That level of care is sufficient for a kit or a pasteurized straw grow.
The distinction between pasteurization versus sterilization is important to understand eventually, but for now, know this: pasteurization reduces contaminants enough for aggressive species like oysters to colonize successfully.
Full sterilization is needed for more advanced techniques like grain spawn production or working with less competitive species.
You do not need a pressure cooker for your first grow.
From my own experience, the good enough setup that produced my most reliable beginner results was embarrassingly simple.
A colonized oyster mushroom block sitting in a sideways plastic bin or cooler, misted three times a day, on a shelf in my basement.
No fans, no timers, no sensors.
It fruited beautifully every time.
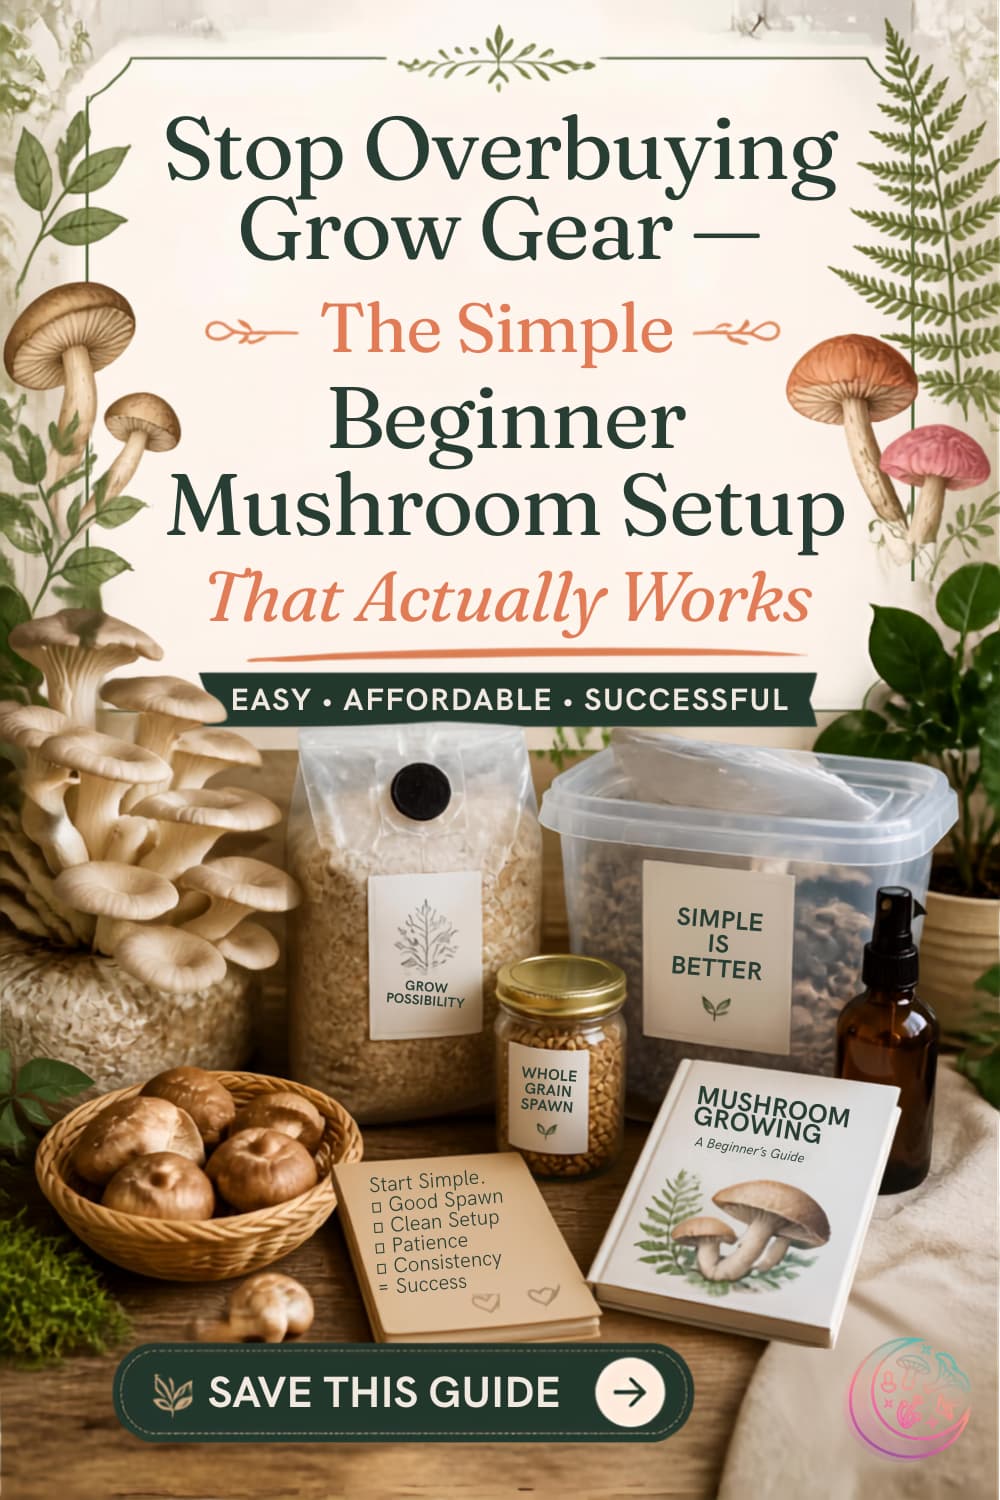
Click here to learn how to setup your grow as a beginner
What to expect during your first grow
The waiting stage is where most beginners lose confidence, and it is almost always unnecessary.
Here is what normal looks like:
Days one through five after setup.
Not much visible happens.
If you are using a kit, the surface may look unchanged.
If you are doing a bucket grow, the straw inside is quietly being colonized but you cannot see it yet.
This is normal. The mycelium is growing.
You do not need to open, poke, or adjust anything.
Days five through fourteen.
You should start seeing white mycelial growth spreading across the surface or emerging from holes in your bucket.
It will look like soft white fuzz or threads.
This is healthy colonization.
If you see:
- bright green
- black, or
- orange patches, or
- if you notice an off smell
...you may be dealing with contamination.
Learning contamination smell identification early is useful.
Healthy mycelium smells earthy and clean, like fresh mushrooms or forest floor.
Contamination often smells sour, sweet, or chemical.
If your first grow does get contaminated, it is not a failure on your part.
It happens to all of us!
It is normal...it sucks, yes...and it still happens to me after growing for well over a decade!
Toss it, clean up, and start another. The learning still counts.
Click here to learn more about contamination smell identification

Days fourteen through twenty-one.
Tiny pin formations should begin appearing.
If you are using a kit, you will see pins develop after the first week.
These are the earliest baby mushrooms, and they look like small bumps or clusters emerging from the mycelium.
This is the most exciting stage, and also the stage where people panic the most.
Pins can stall, grow unevenly, or develop slowly.
If you are experiencing stalled pinning troubleshooting for the first time, the most common causes are:
- low humidity
- insufficient fresh air exchange, or
- temperatures outside the ideal range.
Usually a small adjustment to misting frequency or air flow gets things moving again.
Do not assume the grow has failed just because pins are slow. Mushrooms operate on their own schedule.
Days twenty-one through twenty-eight.
Pins develop into full-sized mushrooms, often surprisingly fast.
Oyster mushrooms can double in size in a single day once they get going.
You will know they are ready to harvest when the edges of the caps begin to flatten out or turn slightly upward.
The entire process from setup to first harvest typically takes two to four weeks depending on species, temperature, and conditions.
That is it.
One month or less to go from knowing nothing to holding mushrooms you grew yourself.
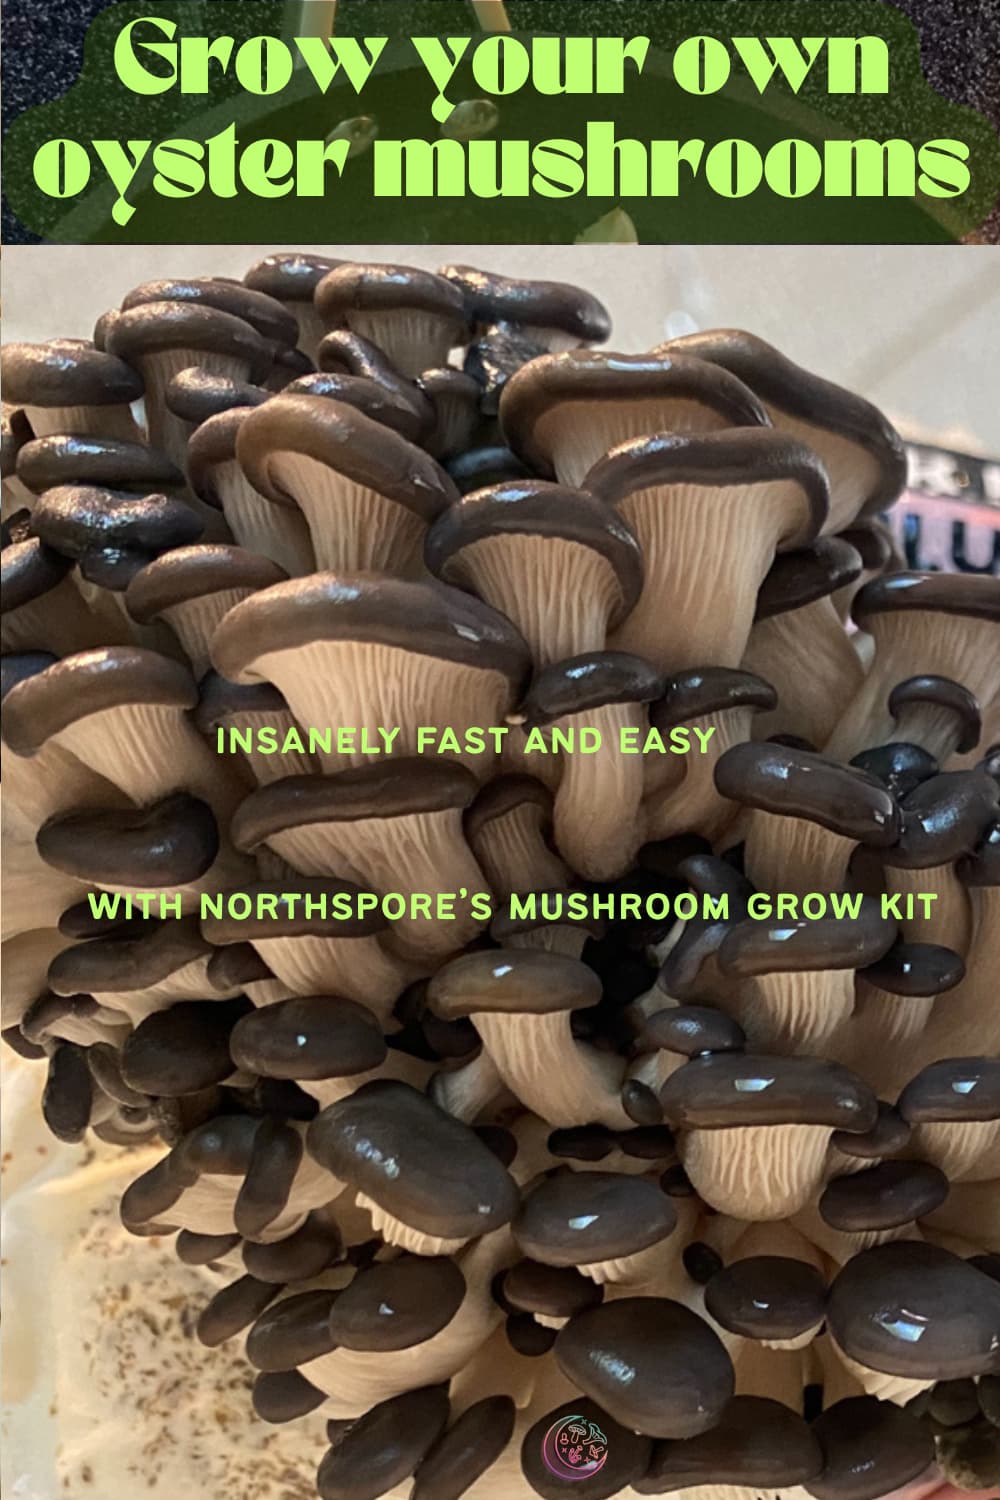
Harvest your first flush, then decide how deep you want to go
When your mushrooms are ready, harvest them by gently twisting and pulling the cluster at the base.
Do not wait too long.
Mushrooms that are slightly underripe taste better than ones that have released their spores and started to dry out on the block.
Most kits and bucket grows will produce more than one flush.
After your first harvest, let the kit rest for a week or 2.
Resoak the kit or block overnight, return it to fruiting conditions, and wait for the next round of pins.
Second and third flushes are common, though yields typically decrease with each one.
Once you have harvested, you will want to know the basics of harvesting and drying mushrooms so nothing goes to waste.
Fresh oyster mushrooms keep in the refrigerator for about a week in a paper bag.
If you have more than you can eat (fresh oysters never last more than a few days in my house!), a simple food dehydrator does an excellent job of preserving them for months.
Dried mushrooms rehydrate well for soups, stir-fries, and sauces.
At this point, you have accomplished something real.
You grew mushrooms at home, from start to finish. Now you get to make a choice.
You can keep running kits and bucket grows, enjoying fresh mushrooms with minimal effort.
That is a perfectly good place to stay.
Or you can go deeper.
You can learn spawn to bulk basics, where you take purchased or homemade spawn and mix it into larger batches of prepared substrate for bigger yields and more control.
You can explore different species.
You can start working with agar and grain.
The whole world of home mushroom cultivation opens up once you have that first win behind you.
Either path is valid.
The point is that you now have experience, not just information.
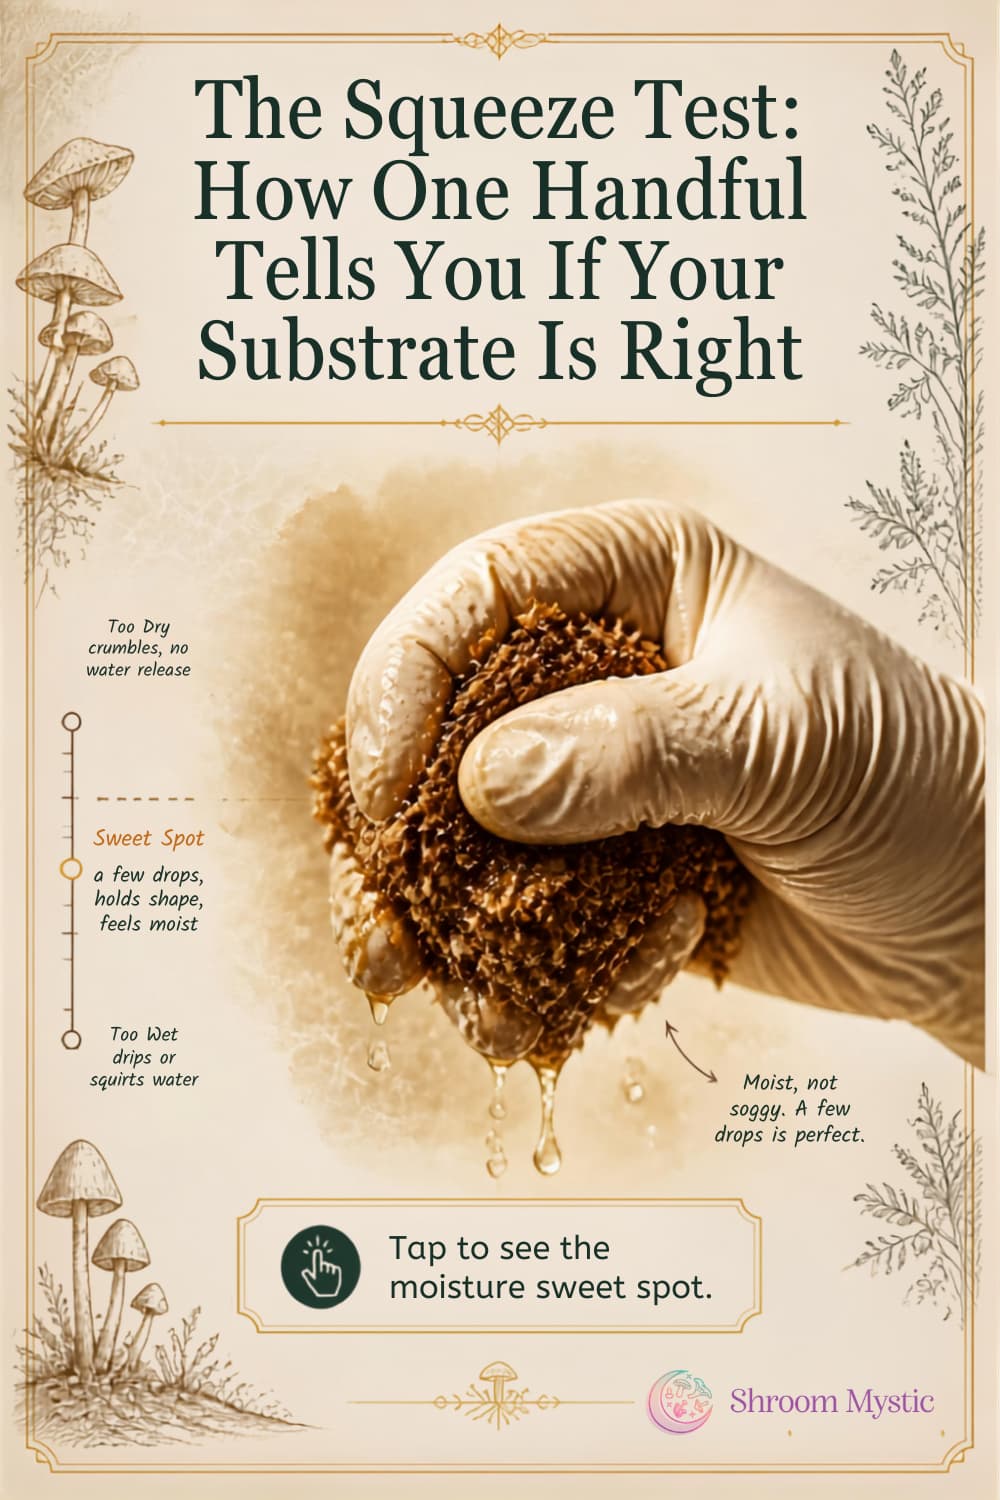
click here to learn more about spawn to bulk basics
If you want to go beyond your first win, learn the full home-growing process (including psilocybin aka "magic mushrooms")
This page is designed to get you started simply and to give you the confidence that comes from one real success with gourmet mushrooms.
But there is a lot more to home mushroom growing than your first gourmet kit or bucket.
If you are the kind of person who wants to understand the full process of growing magic mushrooms at home, I wrote a book that walks you through it step by step.
This page helps you get started simply with mushroom growing at home.
If you want the fuller home-growing process click here for gourmet mushrooms.
With psilocybin, my book walks you through it.
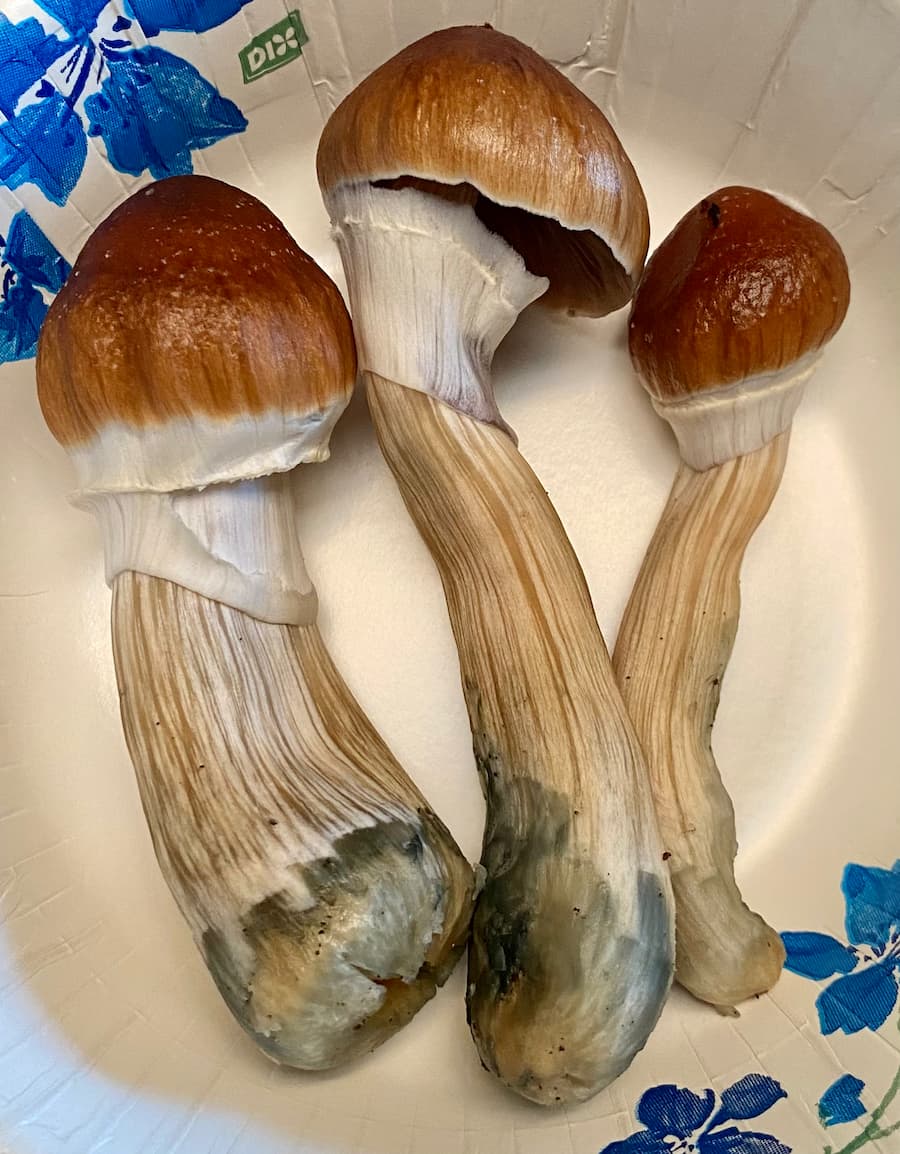 homegrown magic mushrooms, harvested at the peak potency time
You might like these
How fast do mushrooms grow? You won't believe your eyes!
How fast do mushrooms grow? Explore the fascinating world of fungi and be amazed by their rapid growth rates. Learn about the factors influencing their speed and more.
How To Grow Magic Mushrooms Grow List
Grow list with links to products to accompany
How to grow magic mushrooms for healing. The EASY way taught by pros
Learn how to grow magic mushrooms at home for healing and self-discovery. Simple methods, potent harvests, and spiritual growth await. Start your journey today!
Grow Mushrooms at Home: Easy First Harvest
Ready to grow mushrooms at home? Our complete guide shows you the best methods, easiest kits, and expert tips for a fresh, delicious harvest right indoors.
Which growing method should I start with? Kits, monotubs, or logs?
Discover the best mushroom growing method for beginners. Compare kits, buckets, mono tubs & logs to find which suits your space, budget & experience level.
How Much Does It Cost To Start Growing Mushrooms? A Budget Breakdown
Discover the real costs of growing mushrooms at home. From budget-friendly setups to advanced kits, learn what you need to start your mushroom-growing journey today!



Recent Articles


-
Spawn-to-Bulk Contamination Prevention Checklist That Works
Aug 09, 26 07:04 PM
 Tired of contamination ruining your spawn-to-bulk mix? This prioritized checklist covers what actually matters most at the mixing step. Save your grow!
 -
Spawn-to-Bulk Troubleshooting: Fix Stalls, Smells, and Patchy Growth
Aug 09, 26 05:51 PM
Spawn-to-bulk problems? Diagnose stalled colonization, bacterial smells, wet spots, and patchy growth with this symptom-based troubleshooting guide. -
Spawn to Bulk Basics: Your Step-by-Step Guide to Getting It Right
Aug 09, 26 04:51 PM
Learn how to spawn to bulk the right way. From checking your spawn to mixing clean, this beginner guide covers every step so your mushroom tub thrives, not dies. -
How To Set Up A Clean Inoculation Space At Home Without A Lab
Aug 08, 26 07:53 PM
Learn how to set up a clean inoculation space at home without a lab. A calm, practical SAB workflow that keeps contamination low and confidence high. -
Why Beginners Over-Mist: Read Your Mushrooms, Not Your Hygrometer
Aug 08, 26 06:44 PM
Stop chasing humidity numbers. Learn to read substrate surfaces, cap condition, and pin health to prevent over-misting and grow better mushrooms. -
Stop Chasing Humidity Numbers and Start Reading Your Mushrooms
Aug 08, 26 05:03 PM
Bad sensor placement and over-misting cause more problems than low humidity ever will. Learn where to place your hygrometer and what readings actually matter.


- Home
- mushroom growing


Follow me and spread the spores!