"Start where you are. Use what you have. Do what you can."
Arthur Ashe
FREE MICRODOSING class with newsletter sign up. Click here!
- Home
- mushroom growing
- beginner setup
Beginner Mushroom Grow Setup
Everything You Need to Get Started (Without Losing Your Mind)
So you want to grow mushrooms at home!
Maybe you've been reading about the incredible health benefits of mushrooms and thought, "Why not grow my own?"
Maybe you saw a gorgeous cluster of oyster mushrooms on someone's kitchen counter and felt a little spark of jealousy.
Either way, you're here.
And I'm glad you are.
Because here's the thing — growing mushrooms at home is one of the most rewarding and awe-inspiring things you can do!
It's part science experiment, part meditation, and part "look what I grew!" bragging rights at dinner.
But it can also feel overwhelming.
There's a lot of advice out there.
Some of it's great.
Some of it will have you buying a pressure cooker, a laminar flow hood, and a hygrometer before you've even picked a species.
Let's slow down. Take a breath.
And walk through this together.
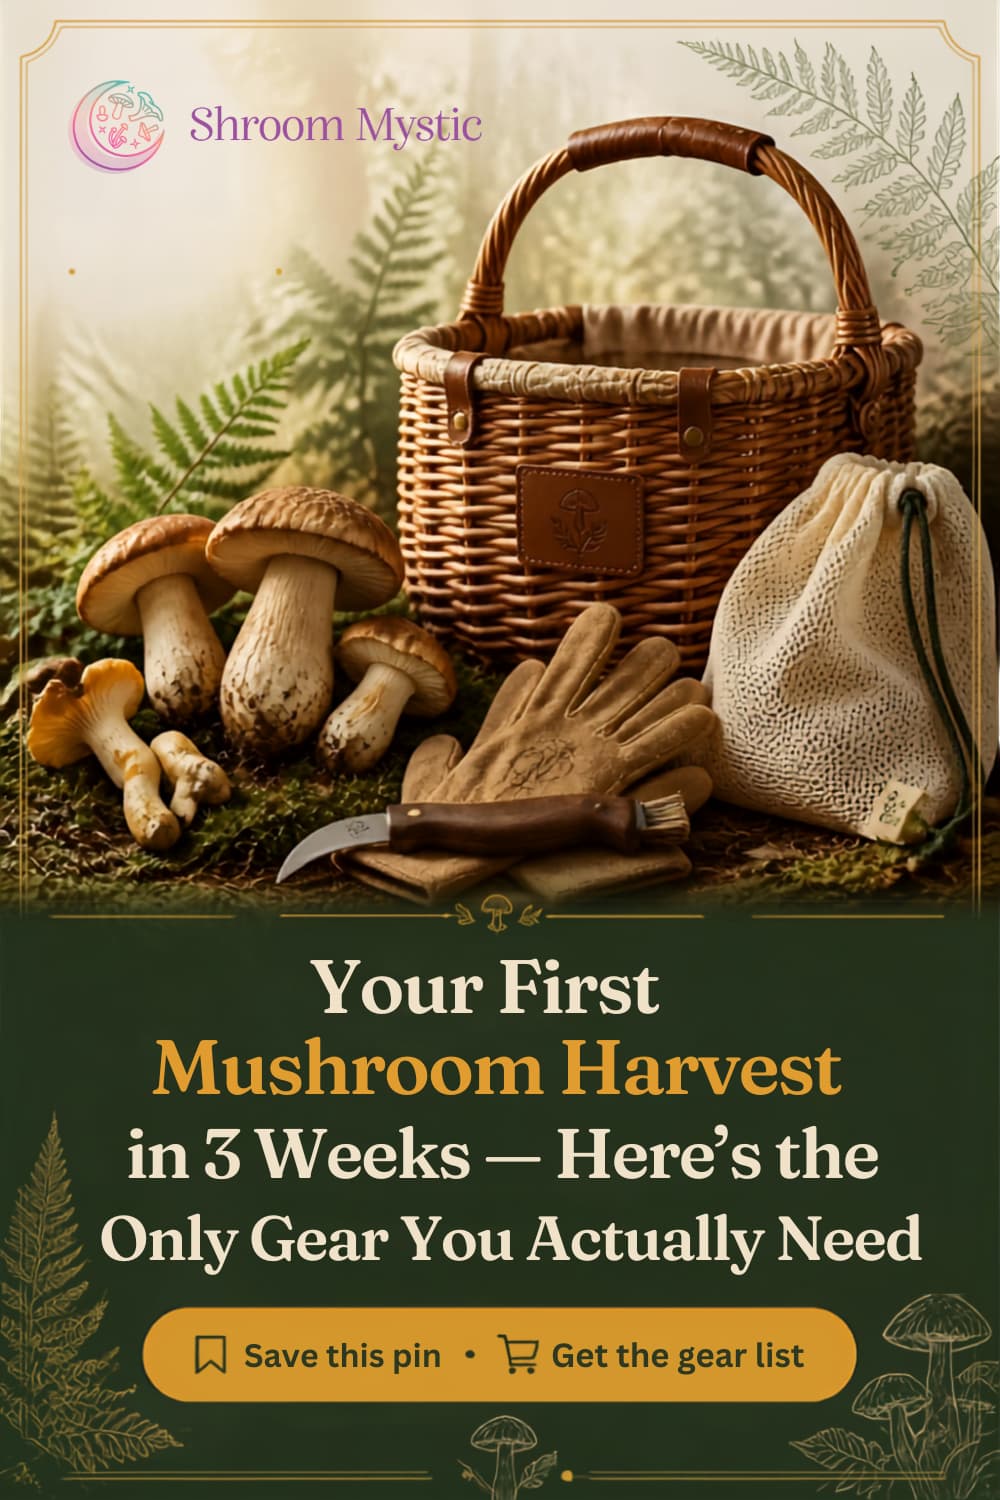
You Don't Need a Lab. You Need a Plan.
The biggest mistake I see beginners make?
They try to build a perfect setup before they've grown a single mushroom.
They watch one YouTube video and suddenly they're shopping for grow tents, ultrasonic humidifiers, and industrial-grade alcohol spray bottles.
I get it. I've been there.
I once spent an entire Saturday afternoon comparing still air boxes on Reddit instead of just... starting.
Here's what I wish someone had told me on day one:
**your first grow should be simple, cheap, and forgiving.**
You're not trying to win a competition.
You're trying to learn what mushrooms actually need — and what they don't.
The goal is your first harvest.
That's it.
Once you hold that first cluster of fresh, homegrown mushrooms in your hands, everything clicks.
The confidence comes.
The upgrades come naturally after that.
Free 4-Part Microdosing Mushrooms Class
Pick Your First Mushroom Wisely
Not all mushrooms are created equal when it comes to beginner-friendliness.
Some species are divas.
Others are practically bulletproof.
**Oyster mushrooms** are the gold standard for beginners.
They grow fast, they tolerate a range of conditions, and they forgive your mistakes.
If you forget to mist for a day, they'll probably still show up to the party.
**Lion's mane** is another solid choice if your conditions are reasonably stable.
It's a little pickier about humidity, but nothing crazy.
Start with one of these.
Seriously.
I know those shiitake and reishi photos look amazing, but save them for round two.
Your first grow is about learning the basics, not chasing perfection.
Kit or DIY? Let's Be Honest About Both
This is the great debate in beginner mushroom growing, and the answer is simpler than people make it.
**If you've never grown anything before**, start with a kit.
A good mushroom grow kit reduces the number of things that can go wrong.
The substrate is already colonized.
The instructions are straightforward.
You just need to provide the right environment and a little patience.
Is it the cheapest option per pound of mushrooms?
No.
But it's the cheapest path to actually succeeding.
And success is what builds momentum.
**DIY setups** are cheaper long-term, but they add variables.
You're handling grain, substrate, sterilization, inoculation — each step is a place where contamination can sneak in.
It's absolutely doable, but it's a different learning curve.
My advice?
Get one successful kit grow under your belt.
Then start experimenting with DIY.
You'll understand what the mushrooms need because you've already watched them grow.
The Actual Setup: What You Need (and What You Can Skip)
Here's where I want to save you some money and some headaches.
Let's break this into two categories: **what's required** and **what's optional**.
**Required for your first grow:**
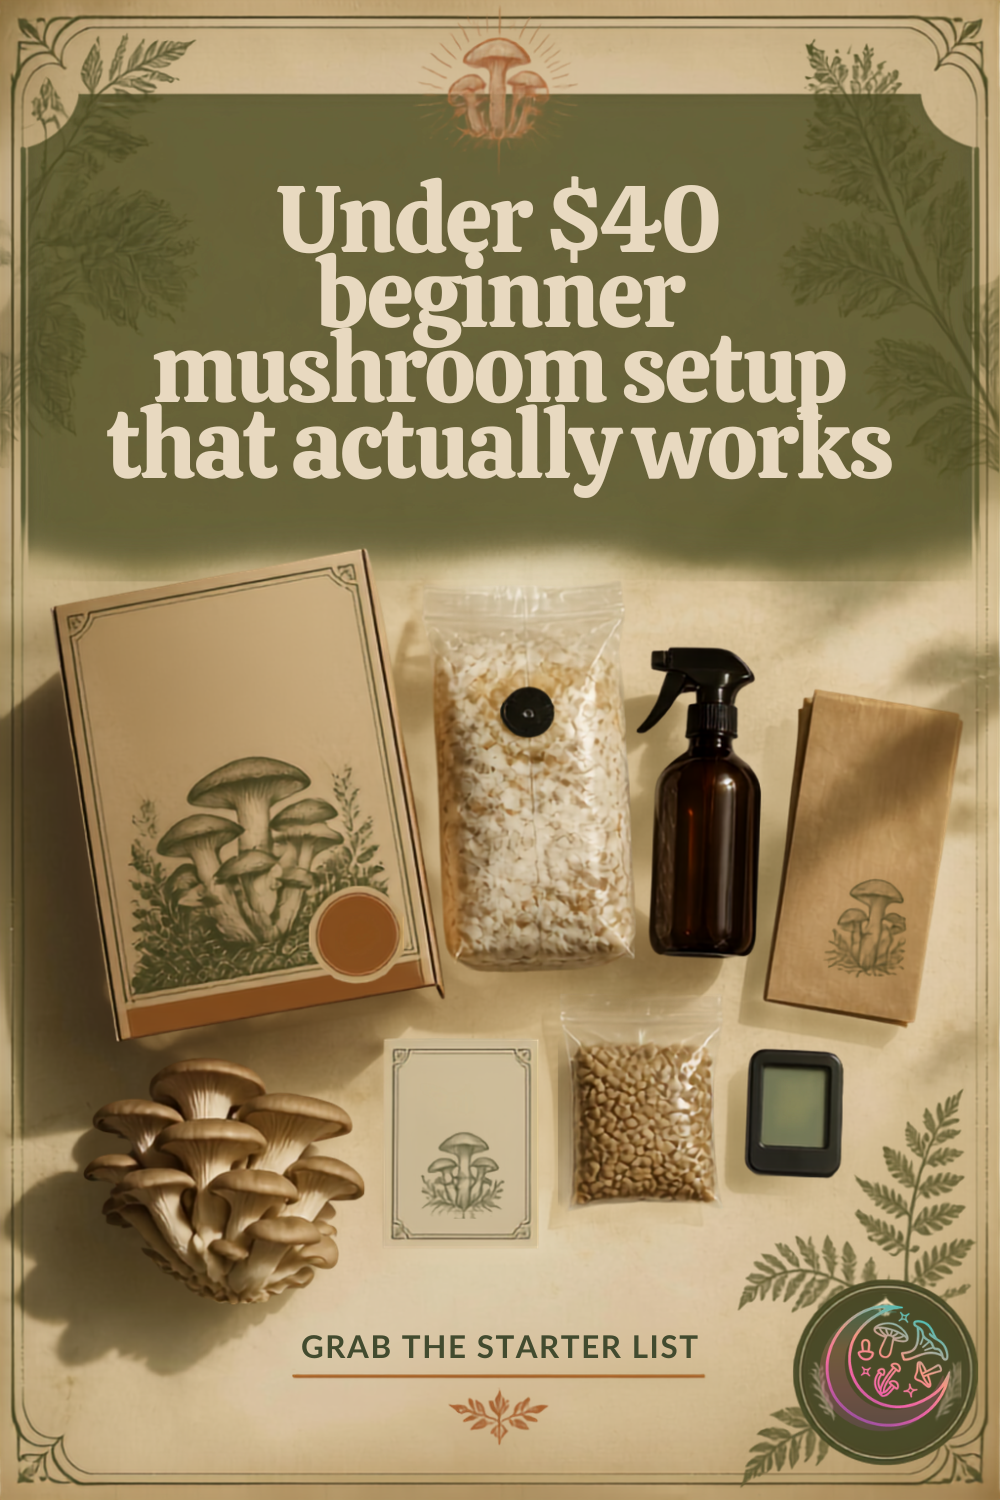
- A mushroom grow kit or pre-colonized block from a reputable supplier
- A spot in your home with stable temperatures (more on this below)
- A way to maintain humidity around your grow (this can be as simple as a plastic bag or container with some holes)
- A spray bottle for misting
- Clean hands and a clean surface
**Optional (nice to have, not need to have):**
- A hygrometer (humidity meter)
- A small grow tent or shotgun fruiting chamber
- A still air box (I completely bypass this now because it is so easy to get high quality genetics)
- A humidifier
- A pressure cooker
See that optional list?
You don't need any of it for your first grow.
I promise.
Those items become more useful as you scale up or move into DIY substrate work.
But right now? Keep it simple.
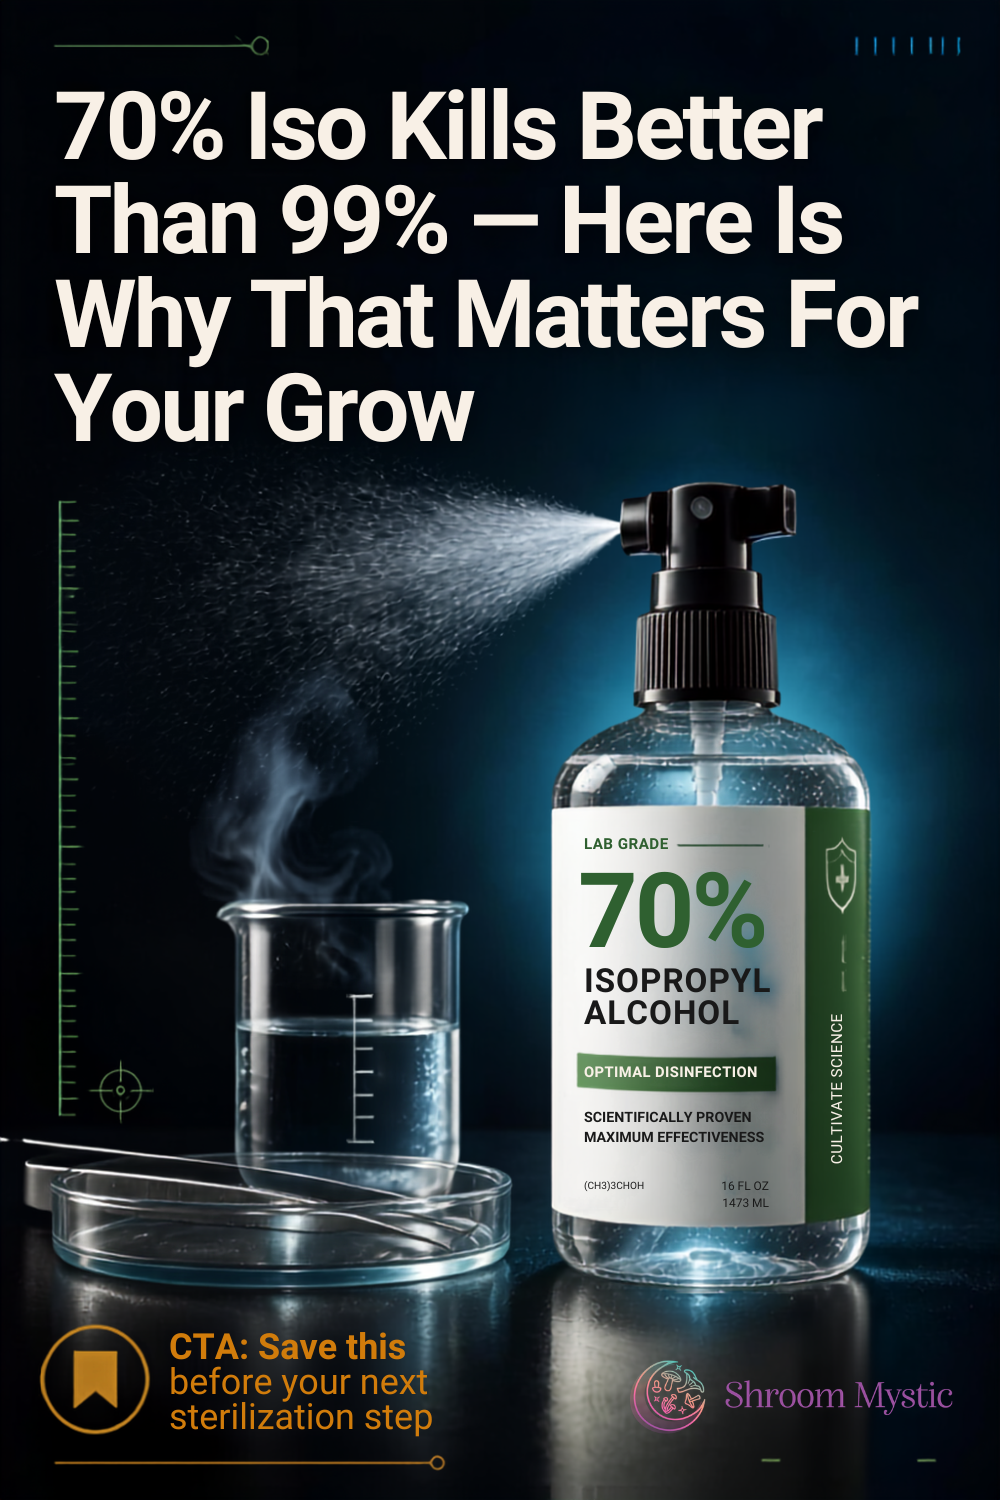
Finding the Right Spot in Your Home
Mushrooms aren't plants.
They don't need a sunny windowsill. In fact, direct sunlight is the last thing they want.
What they do need is a spot that's:
- **Temperature-stable.** Avoid places near heating vents, drafty windows, or exterior doors.
Most common gourmet mushrooms do just fine at normal indoor temperatures — somewhere in the 60-75°F range.
Consistency matters way more than hitting a magic number.
- **Out of direct sunlight.** Indirect light is actually helpful — it gives the mushrooms a directional cue for growth.
A room with a window? Perfect.
Just don't put your grow right in the beam of afternoon sun.
- **Easy to keep clean.** This is the one people overlook.
Your grow spot should be somewhere you can wipe down easily, away from heavy foot traffic and dust sources.
A spare bathroom, a closet shelf, a corner of a basement — all great options.
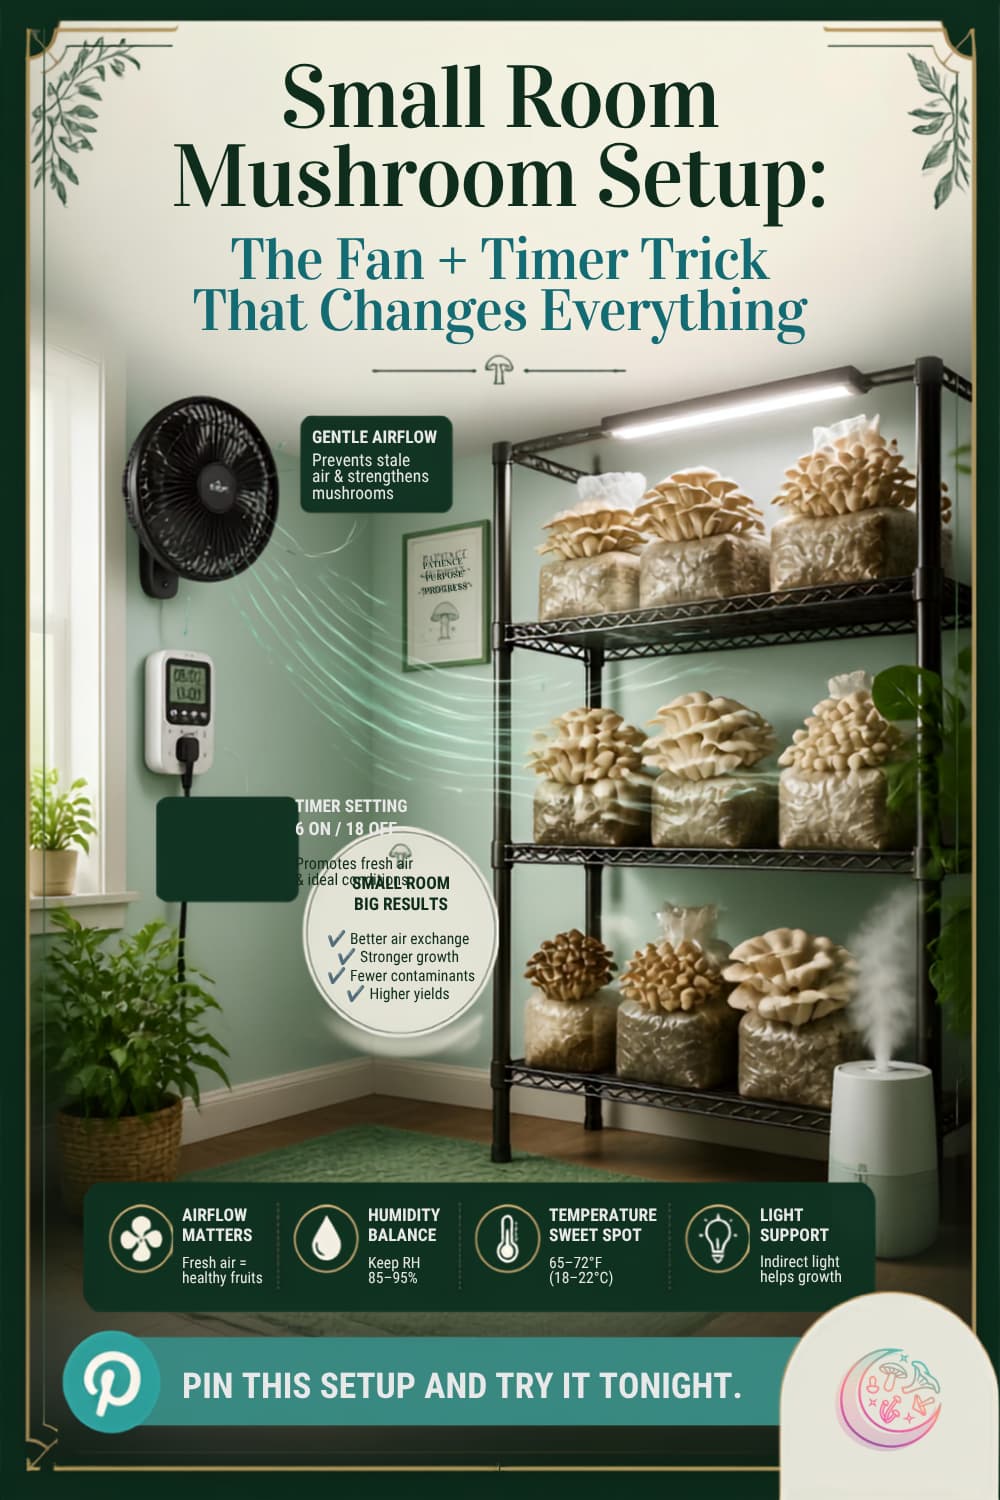
- **Not too drafty, not too stagnant.** Mushrooms need fresh air exchange, but a constant breeze will dry them out.
Think "gentle, not gusty."
The Humidity Question (It's Not as Scary as It Sounds)
Okay, let's talk about humidity.
Because this is where a lot of beginners spiral into anxiety.
Yes, mushrooms need humidity.
Most fruiting species want surface conditions that stay moist.
But here's what nobody tells you early enough: **you probably don't need a humidifier for your first grow.**
If you're using a grow kit inside a humidity tent (even a simple plastic bag with holes cut in it), you can maintain decent humidity just by misting a couple of times a day.
The enclosure does most of the work.
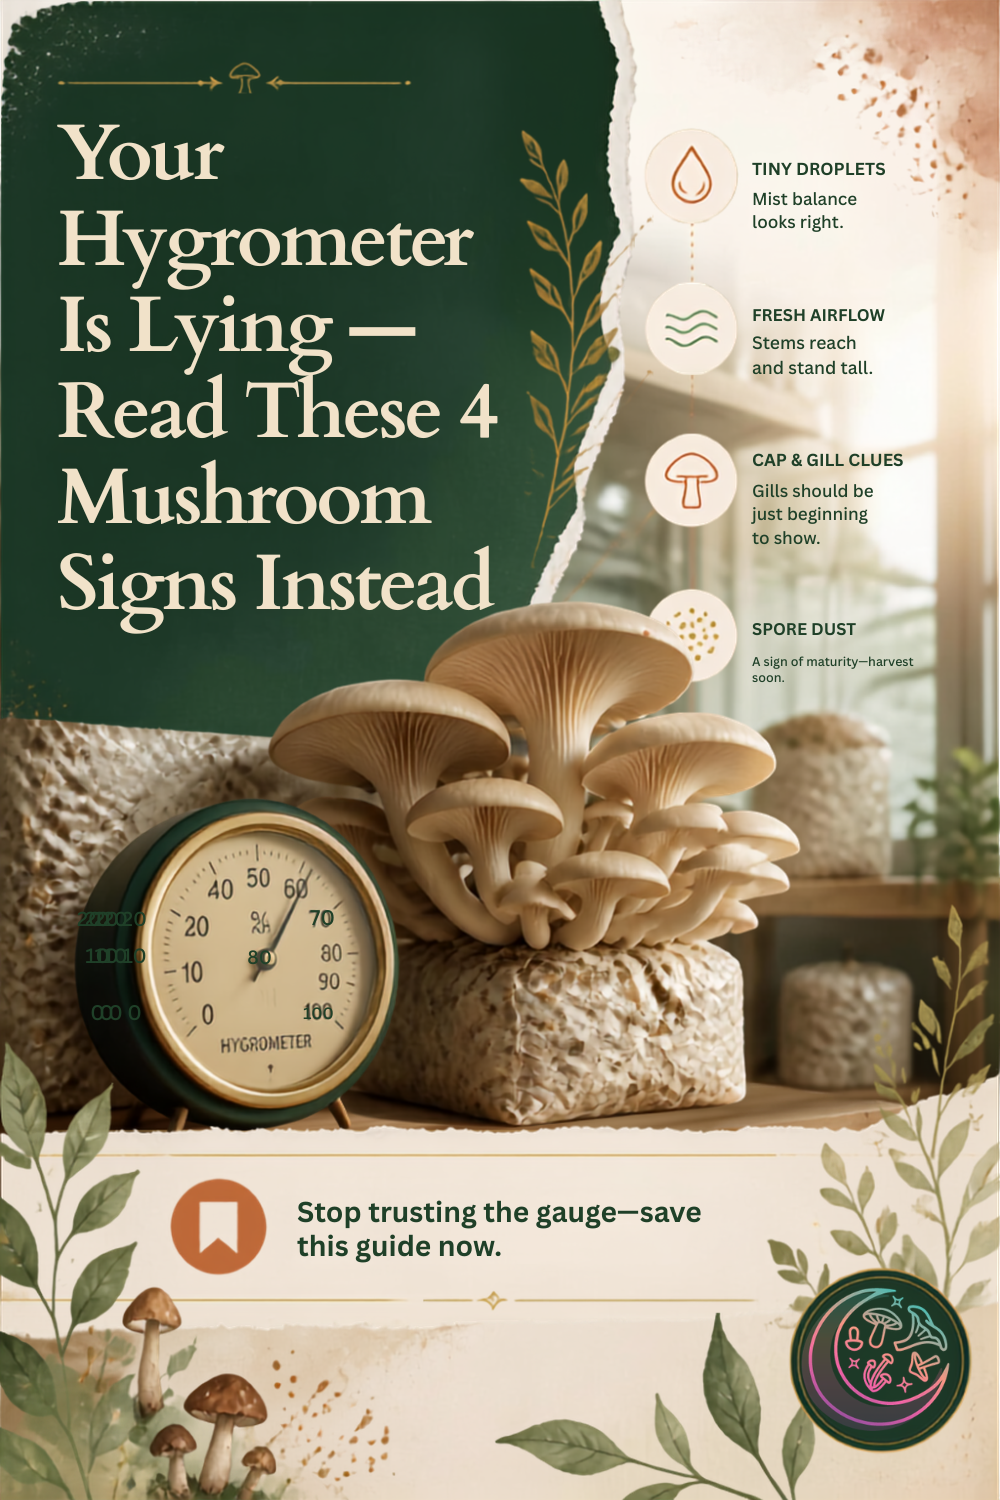
The real skill isn't chasing a specific humidity number on a meter.
It's learning to read your grow.
Are the pins looking healthy and moist?
Great, keep doing what you're doing.
Are the edges of your mushrooms cracking or drying out?
Mist a little more, or reduce the airflow slightly.
This is a feel thing.
And you develop that feel by watching your first grow closely.
Not by obsessing over whether your hygrometer says 85% or 88%.
Fresh Air: The Other Half of the Equation
Here's the tricky part:
Mushrooms need humidity AND fresh air.
And those two things can work against each other.
Every time you introduce fresh air, you potentially lower humidity.
Every time you seal things up to keep humidity high, CO₂ builds up.
Too much CO₂ gives you those long, skinny, sad-looking mushrooms with fuzzy feet.
Sound complicated?
It's really not, once you understand the basic dance.
For your first grow, here's the simple version:
**provide some air exchange a few times a day, and mist after you do it.**
If you're using a fruiting chamber or tent, fan it gently for 30 seconds, then give it a good mist.
Done.
You'll get better at reading the signs over time.
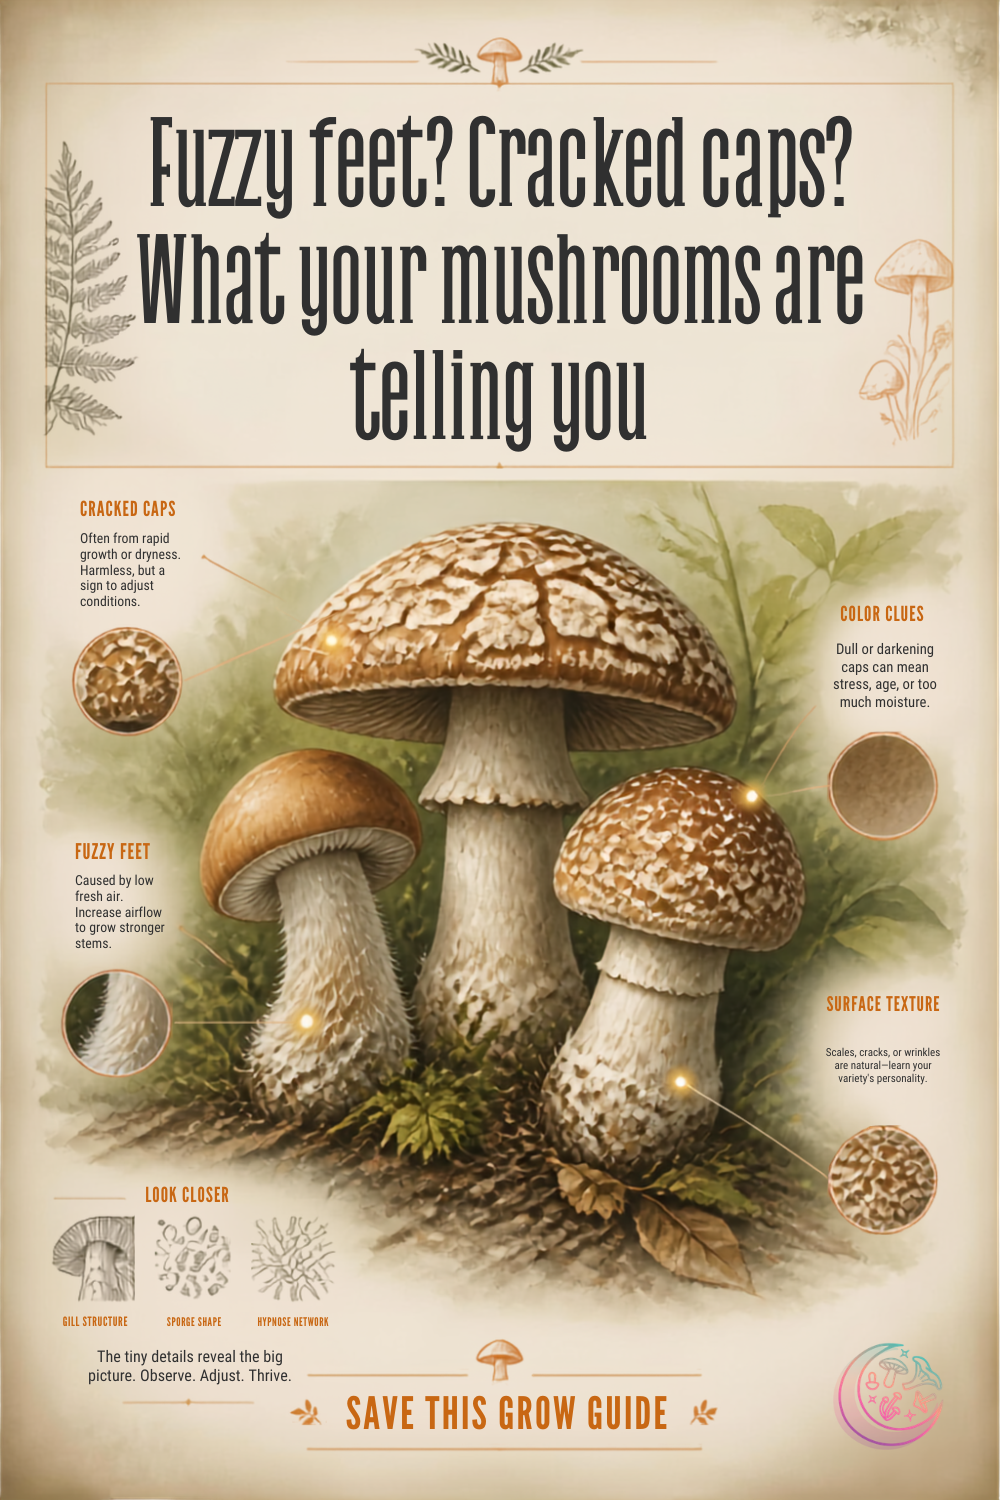
Fuzzy feet at the base of your mushrooms?
More air.
Dry, cracked caps? Less air, more misting.
It's a conversation between you and the mushrooms.
And honestly?
That's the fun part!
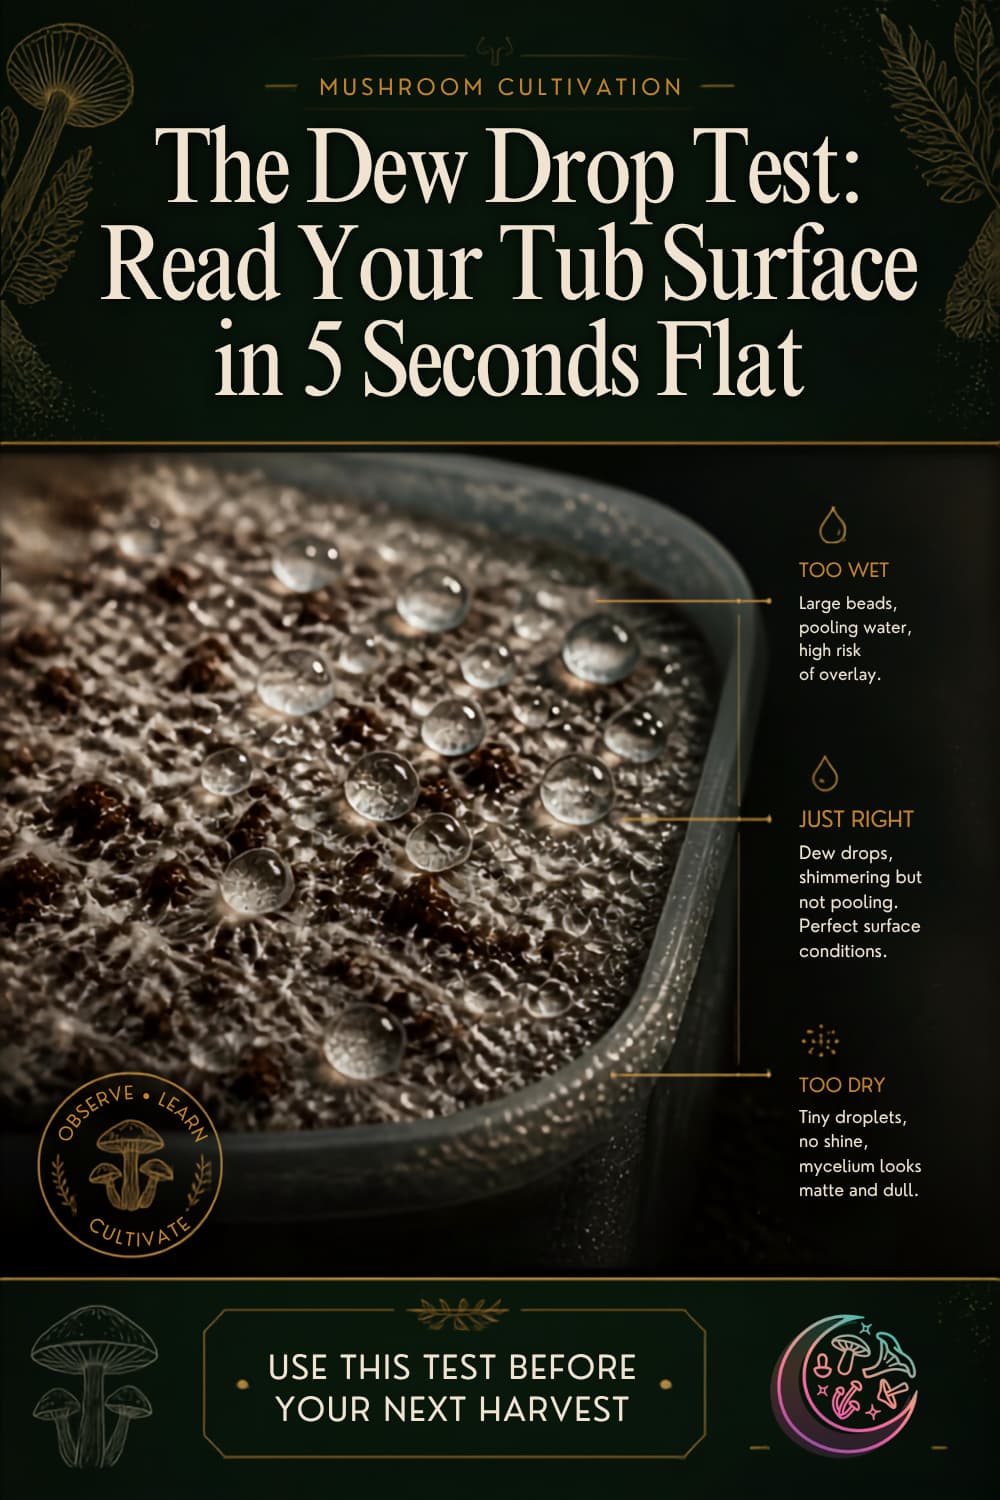
Keeping Things Clean (Without Going Crazy)
Contamination is the boogeyman of mushroom growing.
And yes, it's real.
But it's also manageable — especially if you're starting with a kit or pre-colonized block.
The most vulnerable moment in any grow is inoculation — when you're introducing spawn to a new substrate.
That's when competing molds and bacteria are most likely to take hold.
If you're using a kit, this step is already done for you.
Big win.
For general cleanliness, think "clean kitchen" not "operating room."
Wipe down your surfaces.
Wash your hands before handling your grow.
Don't sneeze on your mushroom block. (I'm only half joking.)
If you do spot contamination — usually it shows up as aggressive green, black, or orange patches, often with a funky smell — isolate that grow from any others immediately.
Sometimes you can salvage a block by cutting away the contaminated section.
Sometimes you can't.
It's okay.
It happens to everyone. Even the pros :)
How Long Until You're Actually Eating Mushrooms?
This depends on your starting point.
If you're working with a ready-to-fruit kit (and depending on the species), you could see pins (baby mushrooms) within a week or two, and be harvesting within three to four weeks.
If you're starting from scratch with grain spawn and bulk substrate, add a few more weeks for colonization.
Either way, mushroom growing rewards patience.
Check on your grow daily, but resist the urge to poke, prod, and rearrange things constantly (I still struggle with this!!!).
Mushrooms like consistency.
Be the calm, steady presence your fungi deserve.
When Things Go Wrong (And They Will)
Your first grow might not be perfect.
Mine certainly wasn't.
I had a block stall out for two weeks because I'd placed it right next to a heating vent.
I didn't realize the warm, dry air was slowly dehydrating everything.
One change — moving the block to a cooler corner — and pins appeared within days.
That's the lesson I want you to take away: **when something goes wrong, make one change at a time.**
If your pins stall, don't simultaneously adjust humidity, temperature, airflow, and lighting.
Change one variable.
Wait.
Observe.
This is how you actually learn what's happening.
Common issues and their usual suspects:
- **Long, skinny stems with fuzzy feet** → Not enough fresh air
- **Dry, cracked caps** → Humidity too low or too much direct airflow
- **Pins that appear then stop growing** → Often a hydration or fresh air issue
- **Green mold** → Contamination; isolate immediately
- **Nothing happening at all** → Check temperature, check that your block/kit is actually viable
Frequently Asked Questions
What's the easiest mushroom to grow for a total beginner?
Oyster mushrooms are the classic starter.
They're fast, forgiving, and grow in a wide range of conditions.
Lion's mane is another good option if you can keep humidity reasonably stable.
Pick whichever one excites you most — enthusiasm counts for a lot in this hobby.
Should I start with a mushroom grow kit or DIY setup?
Kits are your best friend for a first grow.
They eliminate the trickiest steps (sterilization, inoculation) so you can focus on learning how mushrooms fruit.
DIY is cheaper over time but introduces more variables.
Get a win first, then experiment.
What's the cheapest first grow setup that actually works?
A quality grow kit or pre-colonized block, a spray bottle, and a simple humidity enclosure (even a plastic bag with holes).
That's it.
Skip the fancy gear until you know what you actually need.
Where in my home is the best place to grow mushrooms?
Look for:
- stable temperatures,
- indirect light, and
- easy-to-clean surfaces.
Spare bathrooms, closet shelves, and basement corners work great.
Avoid drafty spots, heating vents, and direct sunlight.
Do mushrooms need darkness to grow?
No.
They don't photosynthesize like plants.
But they do use indirect light as a directional cue during fruiting.
A room with ambient light is perfect.
Total darkness can actually cause weird growth patterns.
Do mushrooms need fresh air, or can they grow in a sealed container?
They absolutely need gas exchange! Very much like we do...
Sealed containers trap CO₂, which leads to stretched, weak, unhealthy mushrooms.
Always provide some form of air exchange, even if it's just holes in your fruiting chamber.
What humidity do mushrooms need, and do I really need a humidifier?
Most gourmet species want high surface humidity during fruiting.
But many beginners do just fine with a simple enclosure and regular misting — no humidifier required.
Even though I've had a gourmet mushroom business with all the humidity chambers and ultrasonic foggers...I now just use a sideways cooler or plastic bin to "house" my gourmet kits. That's it!
Learn to read surface conditions rather than chasing a number.
What temperature do most beginner mushrooms grow best in?
Most common gourmet species thrive at normal indoor temperatures, roughly 60-75°F. Don't stress about hitting an exact number. Consistency matters far more than precision.
How long does a first grow usually take from start to harvest?
With a ready-to-fruit kit, expect roughly three to four weeks, or less.
Starting from spawn and bulk substrate adds a few more weeks for colonization. Patience pays off here.
What does contamination look like, and when should I toss a grow?
Watch for aggressive green, black, or bright orange patches and off-putting smells.
Bacterial contamination often looks slimy and smells sour.
When in doubt, isolate the block. If it's spreading fast, it's time to let go.
How clean does my grow area need to be?
Think "clean kitchen," not "hospital."
Although many old-school growers would cringe that I say this...
Wipe surfaces, wash hands, minimize dust.
The goal is reducing the odds of contamination, not eliminating every microbe on earth.
Do I need a still air box to start?
Not if you're starting with kits or pre-colonized blocks.
A still air box becomes valuable when you start doing your own inoculation work.
Again, I don't use a still box anymore. I inoculate on my kitchen counter (very clean).
If you have good genetics and fresh grain or substrate, they will outrun any microbe, eliminating the need for a still box altogether.
If you are dying to go really old school and learn the ins-and-outs of the true hobbiest's path...grab a still box...but I rely on getting good genetics over making my own.
It's a great second-phase investment, not a day-one requirement.
Do I need a pressure cooker to grow mushrooms at home?
Not for your first grow.
Kits and pre-colonized blocks skip the sterilization step entirely.
A pressure cooker becomes important when you start preparing your own grain spawn or substrates.
What's the difference between spawn, substrate, and grain?
Grain is a nutritious carrier that gets colonized by mushroom mycelium.
Once colonized, it becomes spawn, which you then inoculate into substrate.
Substrate is the bulk material (straw, sawdust, coco coir, etc.) that spawn gets mixed into — it's what the mushrooms ultimately fruit from.
What's the difference between a monotub and a grow tent?
A monotub is a simple, cheap, single-container setup — great for magic mushrooms (can be used for gourmet types, too).
A grow tent is larger, holds multiple blocks for gourmet types, and usually involves more equipment (humidifier, fan, controller).
Start with a monotub or simple chamber; upgrade to a tent when you're ready to scale.
How much light do mushrooms need, and what kind?
Very little, and it depends on the species.
Magic mushrooms typically need 12-hours on and 12-hours off a specific type of light.
Gourmet grow kits need indirect ambient light or a simple LED nearby is plenty.
You're providing a gentle cue, not powering photosynthesis.
Why are my mushrooms growing long and skinny?
This is almost always a fresh air exchange issue.
Too much CO₂ causes elongated stems and small caps.
Mushrooms are like us and they "expire" carbon dioxide when they "breathe".
Increase your fanning frequency or add more ventilation holes before changing anything else.
Why did my mushrooms stop growing?
Stalled pins or blocks usually come down to:
- drying out
- poor gas exchange, or
- hydration problems.
Make one adjustment at a time and give it a day or two to respond.
Patience and observation are your best tools here.
Your First Harvest Is Closer Than You Think
Growing mushrooms at home isn't complicated.
It just feels that way when you're staring at a wall of information and gear recommendations.
Strip it down to the basics:
- a good kit
- a clean spot
- some humidity
- some fresh air, and
- a little patience.
You've got this!
And once you taste that first homegrown oyster mushroom — seared in butter with a pinch of salt — you'll wonder why you didn't start sooner.
Now go grow something amazing.
Keep Learning: Deep-Dive Guides
Ready to level up specific skills?
These guides go deeper on the topics that matter most for beginner growers:
- Humidity + Fresh Air: The Beginner Dial-In (Without Drying Everything Out)
- How do you get enough fresh air exchange in a small room without a grow tent?
- The Minimum Viable Mushroom Grow Setup: What's Required vs. What You Can Skip
- Where should you place your hygrometer (and what humidity reading actually matters)?
- Misting + Measurement: Stop Chasing RH, Start Reading the Grow
- "Clean Enough" Inoculation Space at Home (Without Building a Lab)
You might like these
How fast do mushrooms grow? You won't believe your eyes!
How fast do mushrooms grow? Explore the fascinating world of fungi and be amazed by their rapid growth rates. Learn about the factors influencing their speed and more.
How To Grow Magic Mushrooms Grow List
Grow list with links to products to accompany
How to grow magic mushrooms for healing. The EASY way taught by pros
Learn how to grow magic mushrooms at home for healing and self-discovery. Simple methods, potent harvests, and spiritual growth await. Start your journey today!
How to Grow Mushrooms at Home: Easy Tips for Beginners
Discover the secrets to mushroom growing at home. Get step-by-step tutorials, top kit recommendations, and expert tips to grow fresh fungi in your own kitchen!
Grow Mushrooms at Home: Easy First Harvest
Ready to grow mushrooms at home? Our complete guide shows you the best methods, easiest kits, and expert tips for a fresh, delicious harvest right indoors.



Recent Articles


-
Spawn-to-Bulk Contamination Prevention Checklist That Works
Aug 09, 26 07:04 PM
 Tired of contamination ruining your spawn-to-bulk mix? This prioritized checklist covers what actually matters most at the mixing step. Save your grow!
 -
Spawn-to-Bulk Troubleshooting: Fix Stalls, Smells, and Patchy Growth
Aug 09, 26 05:51 PM
Spawn-to-bulk problems? Diagnose stalled colonization, bacterial smells, wet spots, and patchy growth with this symptom-based troubleshooting guide. -
Spawn to Bulk Basics: Your Step-by-Step Guide to Getting It Right
Aug 09, 26 04:51 PM
Learn how to spawn to bulk the right way. From checking your spawn to mixing clean, this beginner guide covers every step so your mushroom tub thrives, not dies. -
How To Set Up A Clean Inoculation Space At Home Without A Lab
Aug 08, 26 07:53 PM
Learn how to set up a clean inoculation space at home without a lab. A calm, practical SAB workflow that keeps contamination low and confidence high. -
Why Beginners Over-Mist: Read Your Mushrooms, Not Your Hygrometer
Aug 08, 26 06:44 PM
Stop chasing humidity numbers. Learn to read substrate surfaces, cap condition, and pin health to prevent over-misting and grow better mushrooms.


- Home
- mushroom growing
- beginner setup