"Patience is the key to paradise."
Turkish Proverb
FREE MICRODOSING class with newsletter sign up. Click here!
- Home
- mushroom growing
- spawn to bulk basics
Spawn to Bulk Basics
Your Complete Guide to Getting This Step Right
So you've got colonized grain spawn sitting on your shelf.
Now what?
This is the moment where everything changes.
You're about to take that beautiful white mycelium and introduce it to a bigger world — bulk substrate.
It's exciting!
And honestly?
It's where a lot of new growers stumble.
But not you.
Not today.
Spawning to bulk is one of the most important steps in your entire mushroom grow.
Get it right, and you're setting yourself up for a gorgeous flush of fruits.
Get it wrong, and... well, let's just make sure we get it right.
I've been through the messy tubs, the mysterious stalls, and the heartbreak of contamination after mixing.
Trust me — once you understand the basics, this step becomes one of the most satisfying parts of the whole process.
Let's walk through everything you need to know.
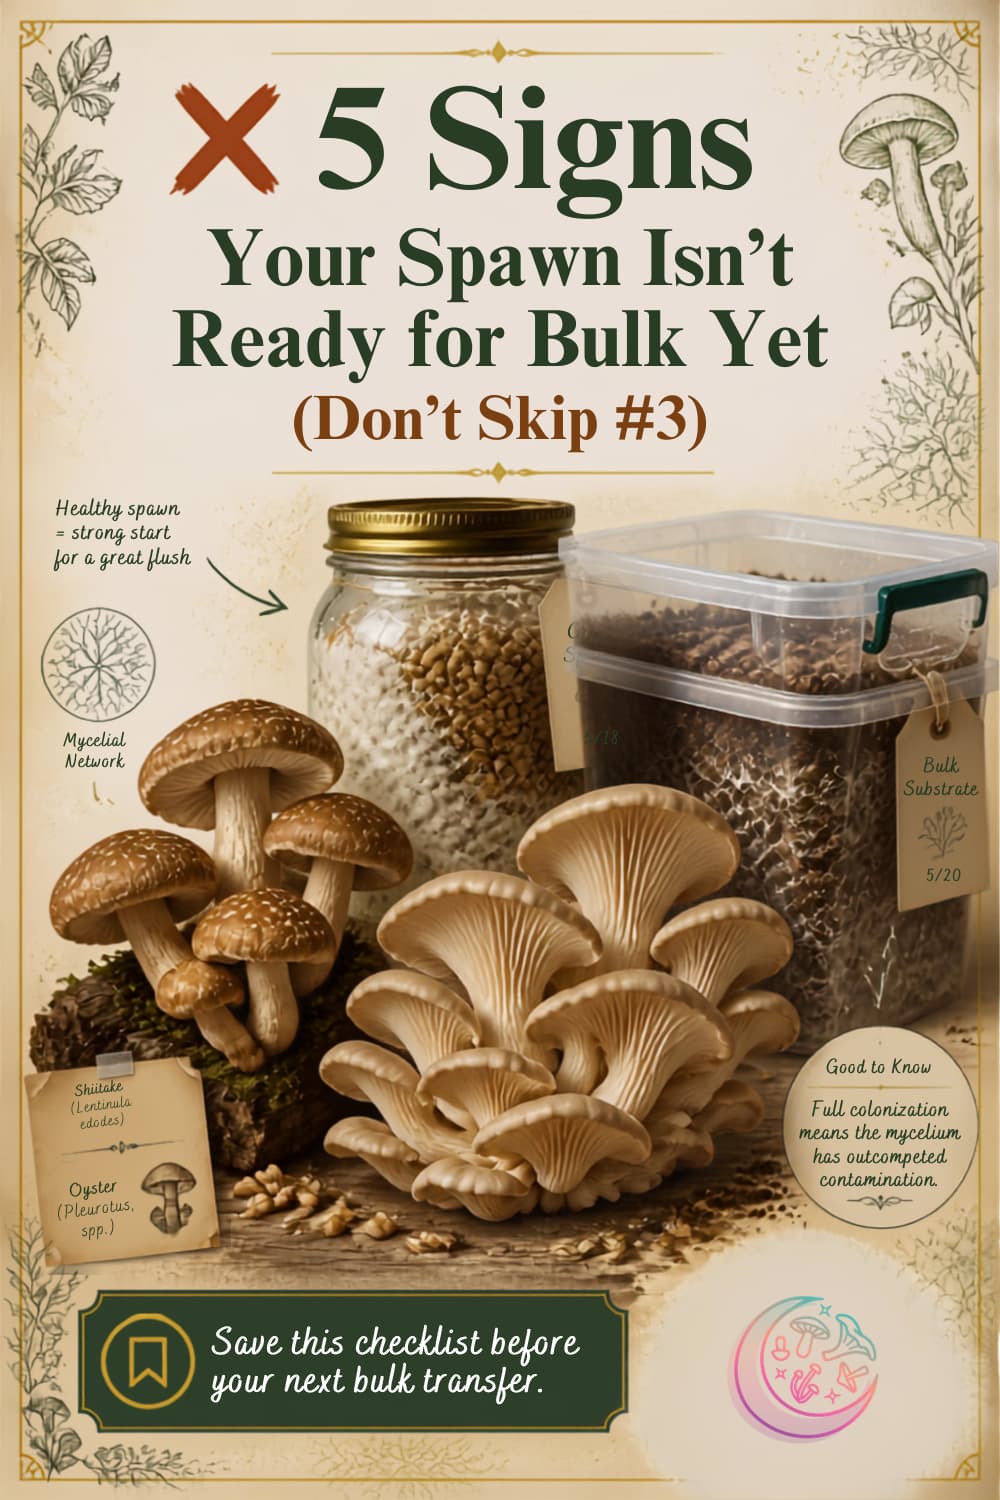
What Does "Spawn to Bulk" Actually Mean?
In plain terms, you're mixing your fully colonized grain spawn into a larger container of bulk substrate — usually something like hydrated coco coir for magic mushrooms, or hydrated hardwood pellets for oyster mushrooms — so the mycelium can spread out, colonize that new material, and eventually produce mushrooms.
You're basically giving the mycelium more food to "run".
Think of your grain spawn as a starter culture.
The bulk substrate is the big meal.
You're giving your mycelium room to grow, nutrients to consume, and the moisture it needs to fruit.
Simple concept. But the details matter a lot.
Free 4-Part Microdosing Mushrooms Class
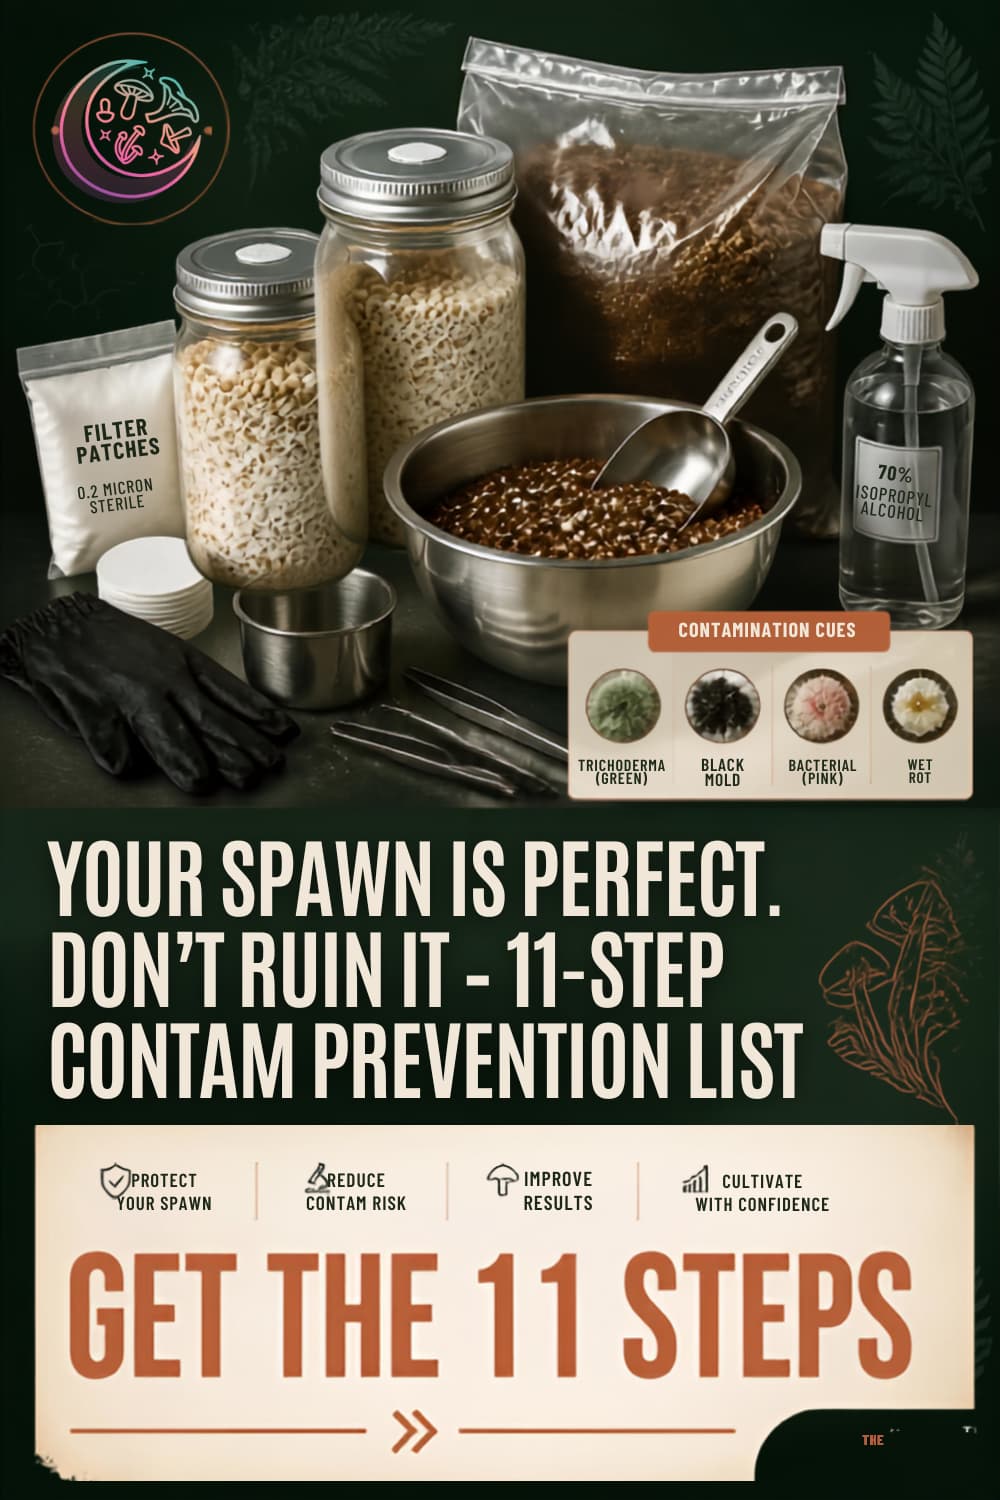
Before You Mix: Is Your Spawn Actually Ready?
This is the question that trips up more beginners than almost anything else.
You're staring at your jar or bag, and it looks *mostly* white.
Maybe 95%.
Close enough, right?
Usually, no.
Those last few uncolonized grains are contamination magnets.
When you mix them into warm, moist bulk substrate, any bacteria or mold hiding on those bare grains suddenly has a paradise to grow in.
Here's what truly ready spawn looks like:
- **Every single grain is covered** in white mycelium — no bare spots
- **The color is bright white** — not yellowing, not gray, not green (definitely not green!)
- **It smells clean** — earthy, mushroomy, maybe slightly sweet. Not sour. Not like dirty socks.
- **It responds to a shake** — if you break it up, it crumbles into individual colonized grains without wet clumps
If any of those checkboxes don't pass? Wait. Patience now saves you from heartbreak later.
Getting Your Bulk Substrate Right
The most beginner-friendly bulk substrate is a coco coir-based mix for magic mushrooms, sometimes with vermiculite added.
For oyster and gourmet species, it's usually a straw and/or hardwood pellet mixture.
These are:
- forgiving
- affordable, and
- easy to prepare.
The magic word here is **field capacity**.
Your substrate needs to be hydrated just right — wet enough to support growth, but not so wet that it's dripping.
Here's the squeeze test: grab a handful and squeeze it firmly.
You should get a drop or two of water.
Maybe a small trickle.
If water pours out, it's too wet.
If nothing comes out at all, it's too dry.
Getting this wrong is one of the most common reasons tubs stall or contaminate.
It's worth taking an extra minute to get it dialed in.
The Mixing Process: Keep It Clean, Keep It Simple
When it's time to mix, here's what matters most:
1. **Work in a clean space.**
Wipe down surfaces.
Wash your hands thoroughly (or wear gloves).
You don't need a full lab setup, but don't do this next to an open window with the dog running around either.
2. **Break up your spawn before opening.**
Shake the jar or knead the bag while it's still sealed.
This saves you handling time with the container open.
3. **Mix quickly and evenly.**
Distribute the spawn throughout the substrate so colonization happens uniformly.
Some growers prefer layering (spawn, substrate, spawn, substrate), and that works too — but even mixing tends to colonize more consistently.
4. **Don't overthink the depth.**
A few inches of substrate in your tub is the sweet spot.
Too thin and it dries out fast.
Too deep and colonization can slow down.
5. **Consider using a liner.**
A simple plastic liner inside your tub reduces side pinning and makes cleanup way easier.
It's a small step that saves real headaches.
After You Mix: The Colonization Phase
Once everything's mixed and leveled out in your tub, the mycelium needs time to colonize the bulk substrate before you introduce fruiting conditions.
Keep your tub at moderate room temperature — roughly the low to mid 70s°F.
Avoid putting it somewhere hot, like near a heater or in direct sunlight.
Heat is contamination's best friend.
How long does colonization take?
Usually one to two weeks, depending on your spawn ratio, temperature, and how vigorous your culture is.
You'll see white mycelium spreading across the surface.
That's exactly what you want.
During this time, watch for warning signs:
- **Unusual colors** (green, black, orange, pink) — that's contamination
- **Sour or foul smells** — bacteria are likely present
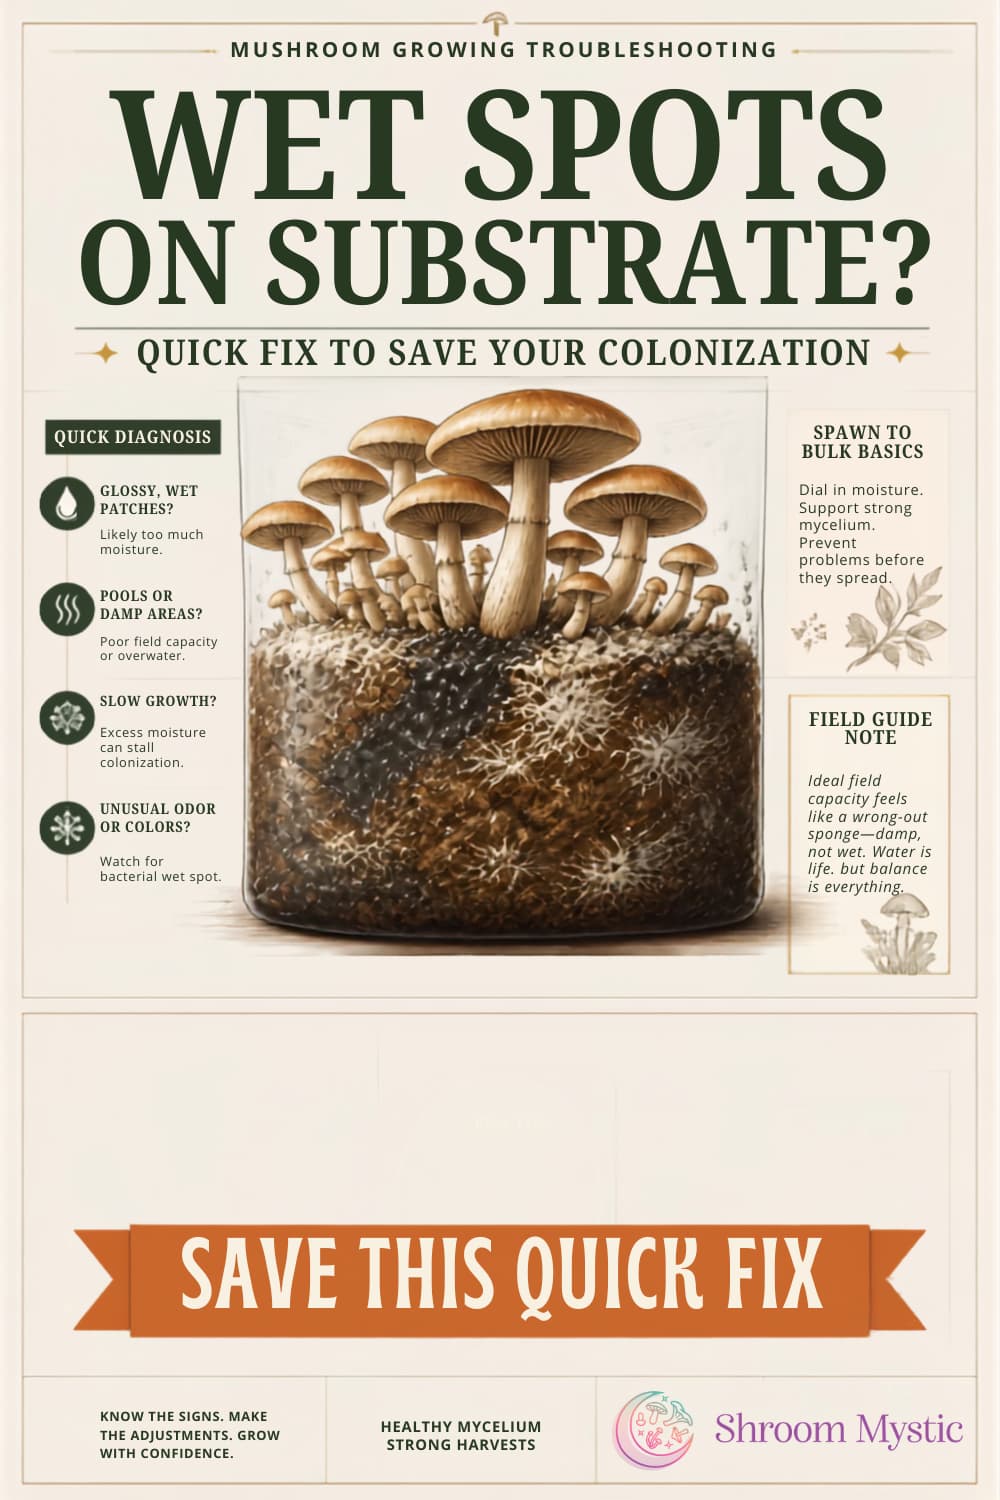
- **Slimy wet spots** — bacterial contamination
- **Complete stalling** — could be weak spawn, moisture issues, or temperature problems
A little yellow liquid (metabolites) can be normal — it's sometimes just the mycelium under stress.
But if it comes with stalling or bad smells, something's off.
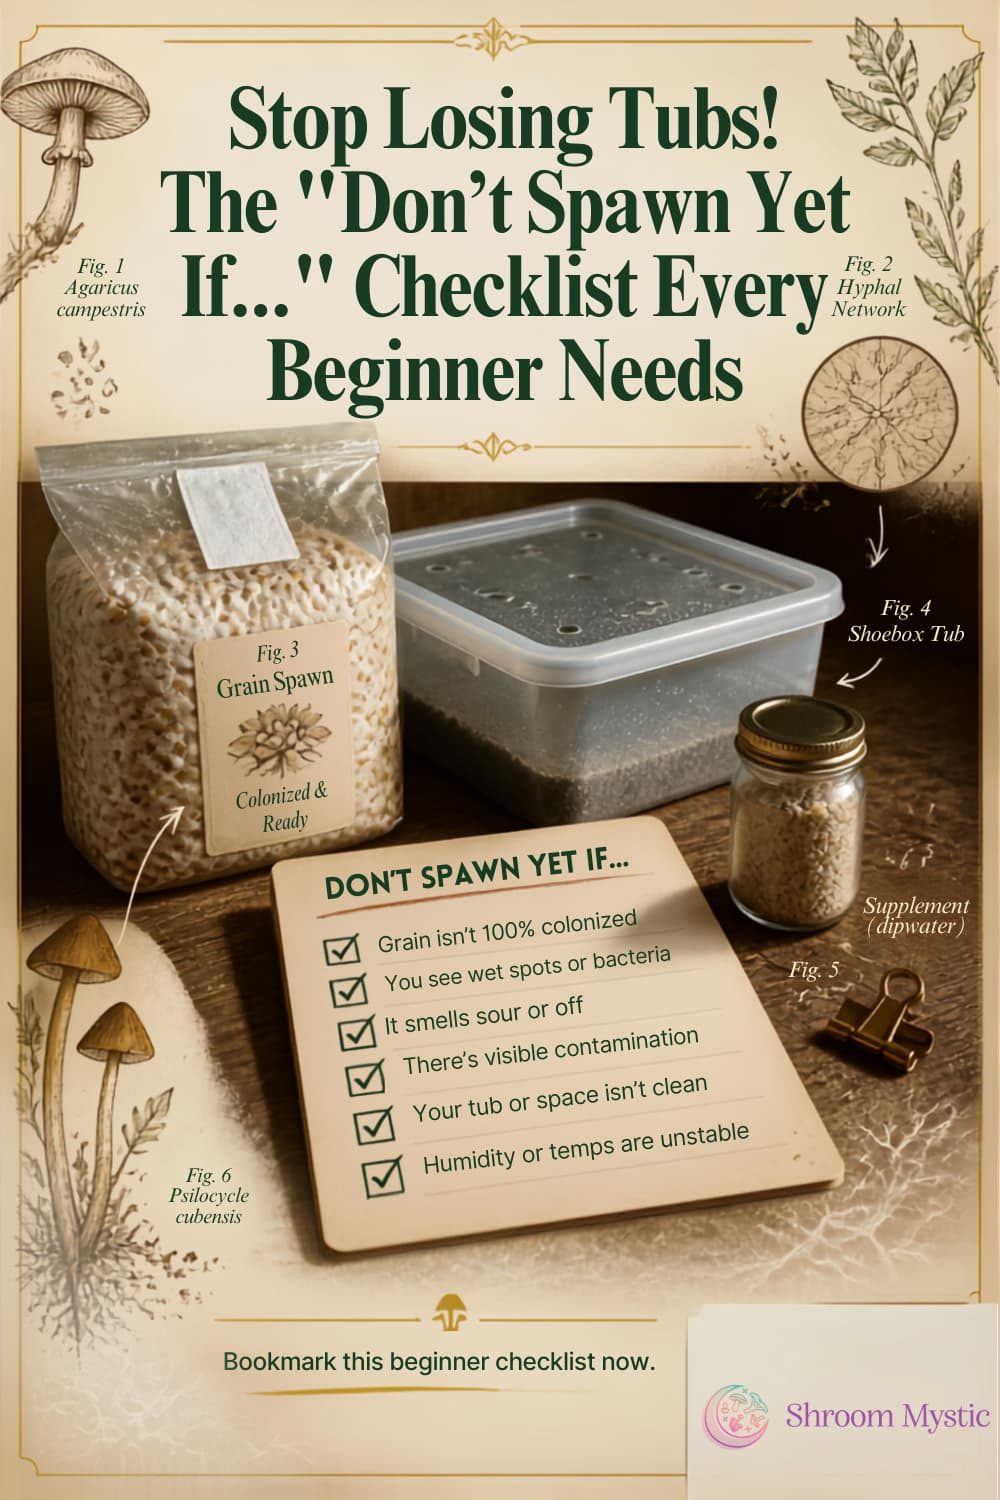
Your "Don't Spawn Yet If..." Checklist
Before you mix, run through this quick list:
❌ Don't spawn if you still see bare, uncolonized grains
❌ Don't spawn if your spawn smells sour, acidic, or "off"
❌ Don't spawn if you see any colors other than bright white in your spawn
❌ Don't spawn if your bulk substrate isn't at proper field capacity
❌ Don't spawn if your workspace isn't clean and prepped
❌ Don't spawn if you're rushing — this step rewards patience, not speed
If everything checks out?
Go for it!
Common Questions About Spawning to Bulk
What spawn-to-substrate ratio should I use?
It depends on the species:
- Oyster Mushrooms: They love straw, wood chips, and sawdust. They grow very fast. They can handle higher ratios like 1:3 or 1:4 because they fight off mold easily.
- Psilocybin Mushrooms: They prefer coco coir and manure mixes. They need cleaner conditions. Most growers stick to a 1:2 or 1:3 ratio to balance speed and safety.
More spawn means faster colonization, but there's a point of diminishing returns — and it costs more spawn.
Do I need a casing layer?
No. Many successful grows skip it entirely. Use one if your specific method or growing conditions call for it.
Do I seal the tub or give it air right away?
This depends on your technique.
The goal during colonization is maintaining humidity and appropriate gas exchange without letting things dry out.
Can I fix a tub that's too wet or too dry after mixing?
Sometimes.
Small corrections can help, but avoid overcorrecting — aggressive fixes often introduce more problems than they solve.
Why is my tub stalling after S2B?
The usual suspects:
- weak or contaminated spawn
- incorrect moisture levels
- temperatures that are too high or too low, or
- poor gas exchange
What's Next?
Spawning to bulk is just one piece of the puzzle.
To really nail your grows, dig deeper into these related topics:
- Spawn-to-Bulk Troubleshooting: Stalls, Smells, Wet Spots, and Patchy Growth
- Spawn-to-Bulk Contamination Prevention Checklist
- Spawn-to-Substrate Ratios: Choose by Goal](/spawn-to-substrate-ratios)**
- "Is My Spawn Really Ready?" 100% Colonized Decision Rules](/is-my-spawn-ready)**
- When to Introduce Fruiting Conditions After S2B](/fruiting-conditions-after-s2b)**
- How Much Substrate for a Monotub? Simple Calculator Method](/monotub-substrate-calculator)**
- Field Capacity Explained: Visual/Feel Guide and Common Mistakes](/field-capacity-guide)**
- Layering vs Mixing Spawn: Which Works Better?](/layering-vs-mixing-spawn)**
You've got this.
Every successful grower started exactly where you are right now — staring at a jar of colonized grain, wondering if it's time.
Follow the steps, trust the process, and enjoy the ride. 🍄
You might like these
Mushroom Tub Bacterial Contamination Smell Guide: What to Sniff For
Learn to identify bacterial contamination in your mushroom tub by smell. Match sour, sweet, or rotten odors to wet spots, slime, and metabolites for fast diagnosis.
How To Grow Oyster Mushrooms At Home Without a Kit Step By Step
Learn how to grow oyster mushrooms at home without a kit! Follow our easy step-by-step guide using simple materials for a fresh, delicious harvest. Start today!
Which growing method should I start with? Kits, monotubs, or logs?
Discover the best mushroom growing method for beginners. Compare kits, buckets, mono tubs & logs to find which suits your space, budget & experience level.
Humidity Control With Continuous Exhaust FAE That Actually Holds RH
Learn a simple control loop strategy to maintain fruiting chamber humidity while running continuous FAE. Duty cycles, fog placement, and buffering tips included.
How to grow magic mushrooms for healing. The EASY way taught by pros
Learn how to grow magic mushrooms at home for healing and self-discovery. Simple methods, potent harvests, and spiritual growth await. Start your journey today!



Recent Articles


-
Spawn-to-Bulk Contamination Prevention Checklist That Works
Aug 09, 26 07:04 PM
 Tired of contamination ruining your spawn-to-bulk mix? This prioritized checklist covers what actually matters most at the mixing step. Save your grow!
 -
Spawn-to-Bulk Troubleshooting: Fix Stalls, Smells, and Patchy Growth
Aug 09, 26 05:51 PM
Spawn-to-bulk problems? Diagnose stalled colonization, bacterial smells, wet spots, and patchy growth with this symptom-based troubleshooting guide. -
Spawn to Bulk Basics: Your Step-by-Step Guide to Getting It Right
Aug 09, 26 04:51 PM
Learn how to spawn to bulk the right way. From checking your spawn to mixing clean, this beginner guide covers every step so your mushroom tub thrives, not dies. -
How To Set Up A Clean Inoculation Space At Home Without A Lab
Aug 08, 26 07:53 PM
Learn how to set up a clean inoculation space at home without a lab. A calm, practical SAB workflow that keeps contamination low and confidence high. -
Why Beginners Over-Mist: Read Your Mushrooms, Not Your Hygrometer
Aug 08, 26 06:44 PM
Stop chasing humidity numbers. Learn to read substrate surfaces, cap condition, and pin health to prevent over-misting and grow better mushrooms.


- Home
- mushroom growing
- spawn to bulk basics